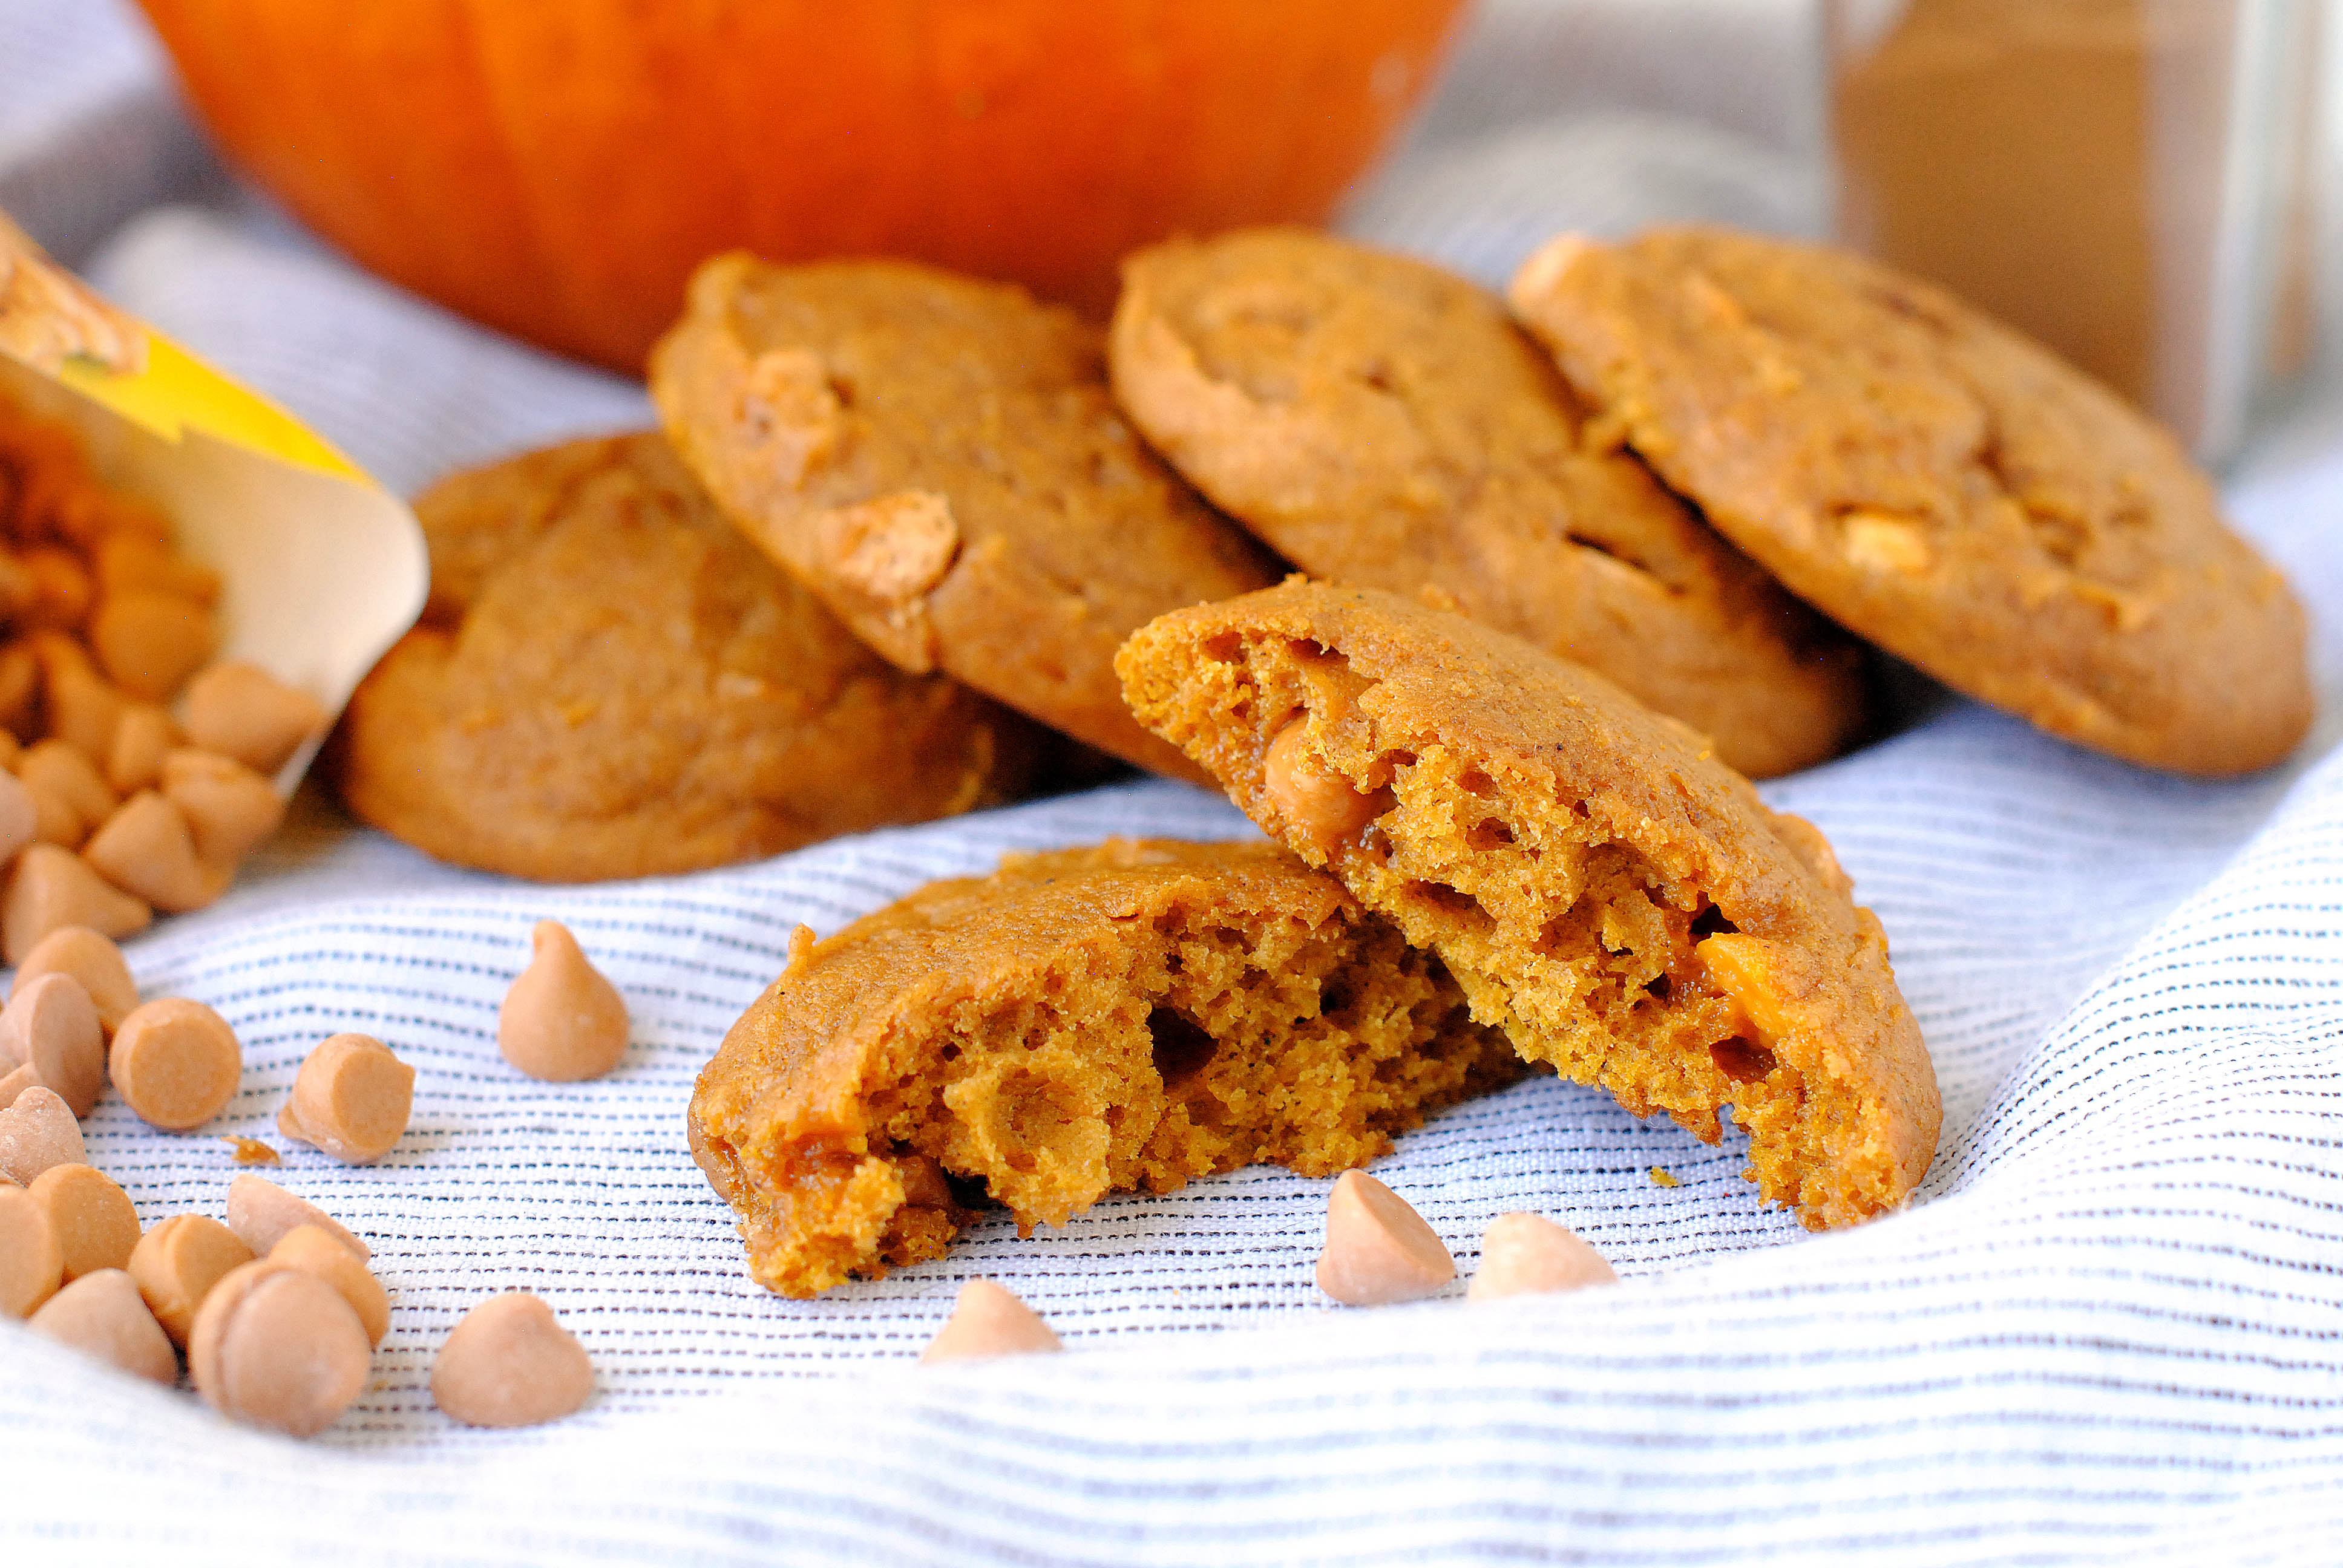
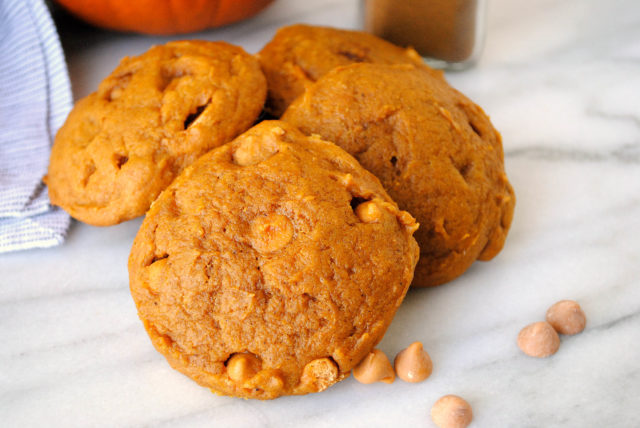
If Fall was a cookie, it would be a Soft Pumpkin Cookie with Butterscotch Chips. Yes it would. From the soft, cake-like crumb to the warm Autumn spices, this cookie is begging to be homemade at your house.
Street Luging
My daughter, Tricia, had a friend who celebrated his life on a particular day each year. It was not his birthday, but the day on which he was granted the opportunity to keep living…minus a portion of his right leg.
It’s no secret that the Salt Lake and Park City areas of Utah are hotbeds for Winter athletes. After the snow melts, the athletes turn their attention to other avenues of adventure, other ways to stay in shape and “practice” for the next the time the snow begins to fly. Ice luge turns to street luge.
One of the activities that ice lugers use to keep their skills honed is street luging. There is a particularly wide, winding road that comes down across one of the mountains at the southern end of the Salt Lake Valley. During the off-season, the ice lugers trade in their runners for wheels and use the wide, winding road for street luging. There is a measure of danger with street luging that ice lugers do not have to worry about, namely traffic and, on this particular road, guard rails that help motorists stay on the road rather than heading down the side of the mountain.
Chris Smith, my daughter’s friend, had been invited to participate in a street luging adventure by a local athlete. Chris was a rather hyper active 16 year old who had a love for ice hockey. He would give most any sporting activity a try as long it carried the promise of being hair-raising. When he was invited to participate in street luging with an athlete, who may or may not have had something to do with the Olympics, Chris jumped at the chance.
He caught on quickly to the basics of street luging, especially the part where he hit speeds of 75-100 miles per hour. Yessiree, just Chris, the luge, a beautiful sunny day, the road, and a guard rail. Everything was going great until Chris took a corner far too fast and hit the guard rail. The fact that he lived was a miracle. The fact that he ended up having to have his right leg amputated six inches below the knee was also a miracle. He was very lucky, or very blessed, to have only lost a part of his leg. (You can read more of his story at this link.)
In the years following his accident, Chris celebrated what he referred to as his “life day”; the day that he was granted additional life. Our family was invited to participate in Chris’ Life Day one year. The celebration included apple cider and pumpkin cookies, two of Chris’ favorite foods…treats…indulgences…whatever you’d like to call them.
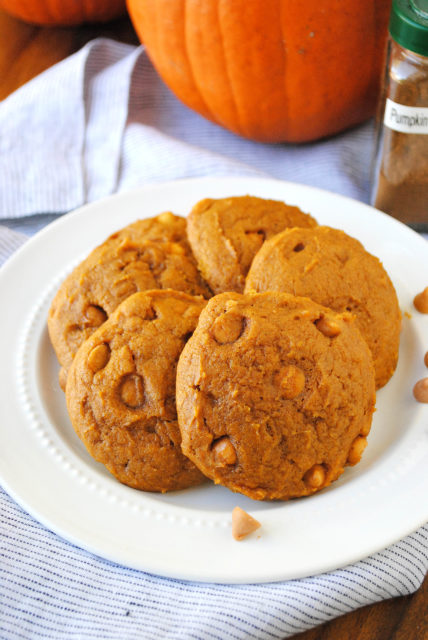
The day that we celebrated Chris’ Life Day in 2003 was the first time I had ever eaten a soft pumpkin cookie. I had seen them in the grocery store every Fall for years, but they always reminded me of cow patties. I couldn’t imagine that those orangey, cakey blobs had anything worthwhile to offer. In my opinion, a cookie was supposed to be more flat than fluffy and have crispy edges and soft centers. They should not be spongy and soft throughout.
At Chris’ party, I watched many people enjoying the pumpkin cookies. Caving to peer pressure, I finally tried one of the cookies, myself. I begrudgingly had to admit that I sort of liked the flavor. The more I ate, the more I decided that pumpkin “cookies” were respectable despite their quirky, non-cookie appearance. These days, I actually look forward to their seasonal arrival in my local grocery store.
While the grocery store bakery makes a nice cookie, I frankly like the cookies from this recipe better. They are tender and FULL of spicey pumpkin pie flavor. The butterscotch chips make a lovely, sweet counterpoint.
Oh, and here’s a tip from Chris… If you ever get caught staring at someone with a prosthetic leg, smile and say, “Nice hardware”.
Recipe Notes
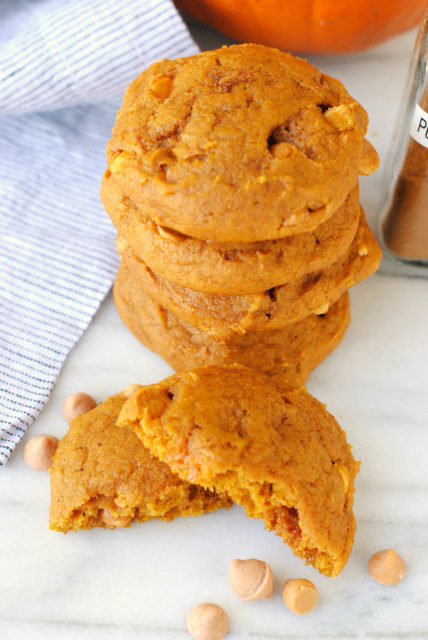
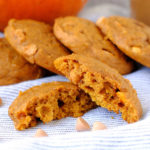
The following recipe is adapted from a standard soft pumpkin cookie recipe. As you can see from the pictures, this is a cake-style cookie.
Although the recipe is basic, I did experiment with various ingredients, letting my family give voice to what tasted the best. I chose what worked the best.
Flour. I tested these cookies with all-purpose flour, cake flour, and a combination of both flours. All-purpose flour produced the nicest cookie. It is best to weigh out the flour using a kitchen scale. If you don’t have a kitchen scale, be sure to fluff up the flour with a whisk and then spoon it into the measuring cup. Too much flour will result in a heavy texture and poor flavor. Also, don’t over-mix the dough. It will result in a “tough” cookie.
Pumpkin Pie Spice. I made my own pumpkin pie spice, using this recipe from Live Well Bake Often. In one of my test batches, I used a name brand pumpkin pie spice, but found that it did not have the flavor I desired, hence the homemade version. I keep whole nutmeg on hand, so I was able to grate fresh nutmeg into the mix. Perfect. I also ground whole cloves for the mix, but found that they are overpowering. The ground cloves in a bottle were toned down enough that they did not make my mouth go numb.
Butter. I used unsalted butter for these cookies. Salted butter can be used, but reduce the salt to 1/2 teaspoon. When softened, the butter should still be able to retain its shape. If it is too soft, pop it in the fridge for a bit to help it firm up. Definitely, DO NOT melt the butter for this recipe.
Pumpkin. Make sure that you are using canned pumpkin, NOT pumpkin pie mix. I tried this recipe with several different brands of pumpkin, including a lower-priced store brand, Libby’s® and Farmer’s Market® organic brand. I found that Libby’s® Pumpkin worked best, being more solid than the other two brands. One of the brands of pumpkin was too loose and caused the cookies to spread.
Dark brown sugar vs light brown sugar vs white sugar. Hands down, these cookies tasted more flavorful with dark brown sugar. Dark brown sugar has a higher molasses content than light brown sugar or white sugar. It is a perfect compliment to the pumpkin pie spice. Light brown sugar can also be used instead of dark brown sugar. It gives similar results, but the flavor is not quite as intense as with the dark brown sugar. White sugar is okay to use in the same quantity as the dark brown sugar, but the cookies’ flavor is not as rich. I also think that the cookie texture suffers.
Butterscotch chips. Butterscotch chips are a great addition to pumpkin cookies. They go beautifully with the pumpkin pie spice and molasses flavor from the sugar. Lot’s of folks appreciate chocolate chips, instead, but I’m sticking with butterscotch. I tested with a store brand, Nestle’s, and Guittard. There wasn’t much difference between the brands, in my personal opinion.
The Pan. Line a baking sheet with either a Silpat or parchment paper. Alternatively, the pan can be buttered, if neither of the pan-liners is available. In my opinion, the Silpat worked better than parchment paper. A buttered pan also worked very well.
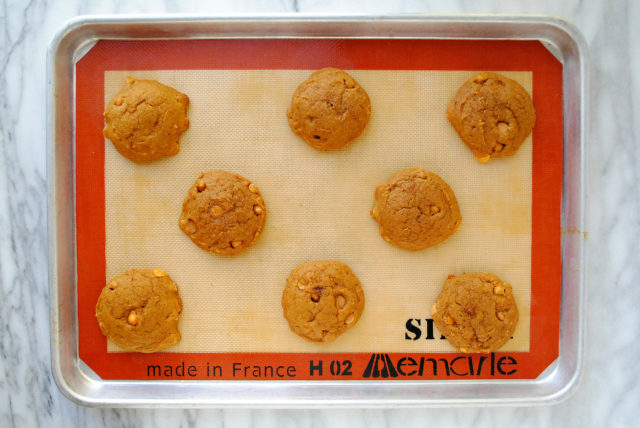
Baking. When baking these cookies, give them plenty of room on the pan. They expand a lot and need good air flow around them for even baking. I put eight cookies per pan in a staggered arrangement. The cookies were tested using three different ovens and they required about 15 minutes per pan. I only baked one pan at a time.
Soft Pumpkin Cookies with Butterscotch Chips
Ingredients
- 2 1/2 cups (300 grams) all-purpose flour
- 1 teaspoon (4 grams) baking powder
- 1 teaspoon (6 grams) baking soda
- 3/4 teaspoon (4 grams) sea salt
- 1 tablespoon (5 grams) pumpkin pie spice
- 1/2 cup (113 grams) unsalted butter, softened do not melt
- 1 1/2 cups (330 grams) firmly packed dark brown sugar
- 1 can (15 ounces or 425 grams) pumpkin puree NOT pumpkin pie mix
- 1 large (57 grams) egg, lightly beaten
- 1 1/2 teaspoons (7.5 ml) vanilla extract
- 1 1/4 cups (220 grams) butterscotch chips
Instructions
- Preheat oven to 350-degrees F. Line a cookie sheet or pan (18- x 13-inches) with a Silpat mat; set aside. Note: Pans may be buttered lightly instead of using a Silpat.
- In a medium mixing bowl, whisk together flour, baking powder, baking soda, pumpkin pie spice and salt until well mixed. Set aside.
- In a large mixing bowl, beat together butter and brown sugar until well blended. Add the pumpkin, egg and vanilla and mix well.
- Add the flour mixture to the wet ingredients, a little at a time, stirring together lightly by hand after each addition. After the last addition of flour, mix only until ingredients are well combined. By hand, stir in the butterscotch chips.
- Using a #24 scoop (3 tablespoons), place 8 scoops of cookie dough, evenly staggered, per baking sheet. The cookies need generous space between them to allow for spread and even cooking. Bake for 14-17 minutes, just until set. They should resist when lightly touched. (See #5 in "Notes")
- Remove cookies from oven and allow to stand on pan for about 2 minutes. Remove cookies from pan and allow to cool completely on a wire rack. Store in an airtight container with either parchment paper of wax paper between layers.
Notes
- This recipe was tested with all-purpose flour, cake flour, and a combination of both types of flour. All-purpose (AP) flour performed the best. Be sure not to over-mix the batter, otherwise the cookies will be tough. They should have a light crumb.
- Unsalted butter is used in this recipe. Salted butter can be used with good results. Reduce the salt to 1/2 teaspoon if using salted butter.
- Light brown sugar can be used instead of dark brown sugar. The textural results will be the same, but the dark brown sugar gives a richer flavor.
- For the butterscotch chips, it is recommended to NOT use more than 1 1/4 cups. More than this will cause the cookies to be "loaded" with butterscotch chips. The cookies will not bake as well with more chips. The butterscotch chips can be reduced to 1 cup without any problems.
- Do not over-bake these cookies. The hallmark signs of brownish edges and a lightly brown top DO NOT apply to this cookie. Bake the cookies just until they are set and resist when touched lightly. If they are under-baked, the cookies will show an indention when lightly touched.
- Allow the pan(s) to cool before adding more dough to the pan(s).
Nutrition


Hello my cyber friend!!!! Welcome back!!. I was just thinking of you yesterday and wondering if I should post a comment, just to let you know I still think of you, and here you!!!! Haven’t wanted to be a pest…xoxoxo
Lovely story. As a certified rehabilitation nurse, this story just warms my heart. I once came across a gentleman with a prosthetic leg. He was with his little girl who was maybe 3 or 4. He was wearing shorts so I could see his “whole” leg. It wasn’t a final prosthesis as the lower leg was ‘just hardware’. The thing is, the upper part, the socket, was covered in a Mickey Mouse theme. As I passed him I said, “I’m a rehab nurse and I love your prosthesis”. He said, “Thanks, my daughter picked it out”. I comment to her what a great job she had done for her daddy, she smiled and the dad just glowed at her. I didn’t get to really talk to him, but my guess is he did it to include her, so that it wouldn’t seem so scary to her.
Will have to try out this pumpkin cookies for the holidays.
Again, WELCOME BACK!!!!!!
XOXOXO
Rie
Hi Rie. It is so good to hear from you! It’s so kind of you to still think about me from time to time. I often think about people I have met through this blog and it warms my heart. I love your story about the Mickey Mouse themed sock (I think that’s what it’s called – the cloth part that goes over the socket). Chris, my daughter’s friend, used to try out various athletic legs for a company that made prosthetics. they were trying to design a responsive leg for ice hockey. Anyway, it is good to hear from you. Thank you so much for leaving a comment.