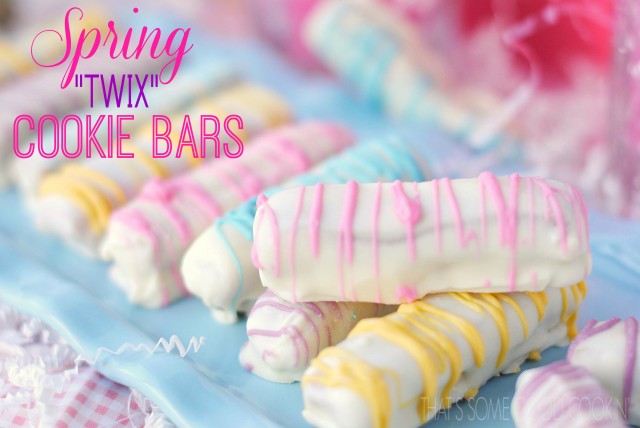
A few weeks ago I got the incredibly brilliant (insert sarcasm here) idea to make a TWIX® copycat recipe substituting white candy melts for the chocolate. I was feeling pretty confident at the beginning of the journey, but that confidence soon gave way to the brutal reality of recipe development involving baking and candy making. They are as much science and chemistry as they are skill and genuine good luck. Despite those facts, I felt like I wanted a challenge.
Technically speaking, this is not really a TWIX® copycat. It is merely “inspired” by TWIX®. 
My daughter, Katie, became my official taste tester. She was under strict instructions to give me her honest opinions on the flavor and texture of the product I was producing. “Taste this and tell me what you think” became my mantra for over a week. Katie was amazingly patient.
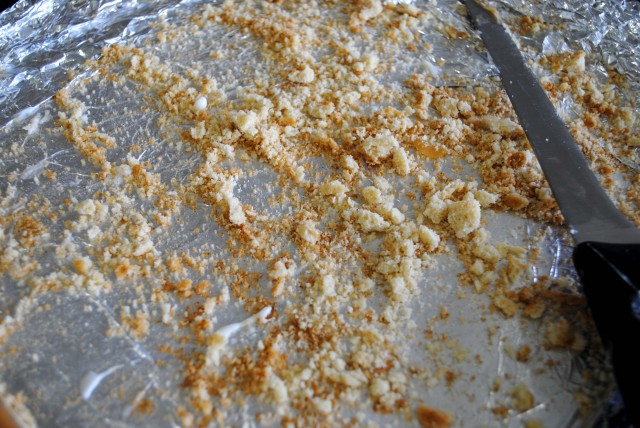
The initial recipe for the cookie portion tasted just right, but when I tried to remove the cookies from the pan, they lost their cohesiveness. Not even the caramel could hold the cookie base together. If you find that you have a need for gritty, sandy, crumbly cookie particulates, I have just the recipe for you.
My first attempt at the caramel received an all-out “F”. That hurt a little bit because I had used my favorite Microwave Caramels recipe, except that I had changed the proportions, cooked it on the stove instead of in the microwave, and only scorched it just a little bit on the bottom. Apparently the flavor was pretty good, but Katie did not like the texture; she said that it was supposed to be gooier. I made a stank face when she wasn’t looking and then felt guilty about being unchristian.
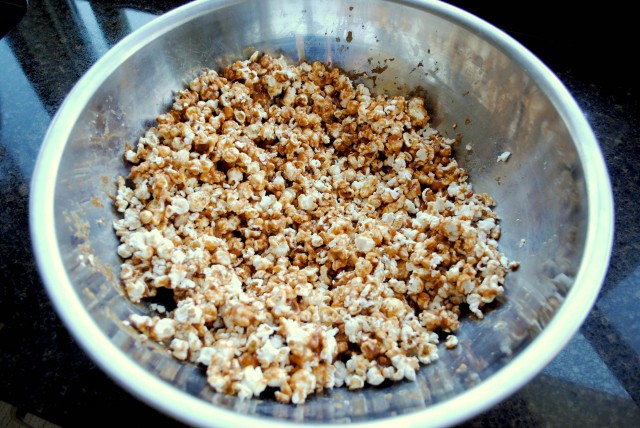
I felt even worse when Katie made the kind and generous suggestion that we could salvage the first batch of caramel by using it on popcorn.
The suggestion was a good one, so we made a giant bowl of caramel popcorn. And ate it for a while. Would you like the rest of it? You can even have the bowl. Let me know what method you use to extract the remaining popcorn.
As the week wore on, my determination to make the bars from scratch began to waver. I came really close to caving in to quick and easy methods for the cookie base and the caramel. Then I remembered that my last post, Pretzel Chocolate Rounds, was based on assembly rather than recipe (3 ingredients and 15 minutes). It was the impetus I needed to head back to the kitchen for another round.
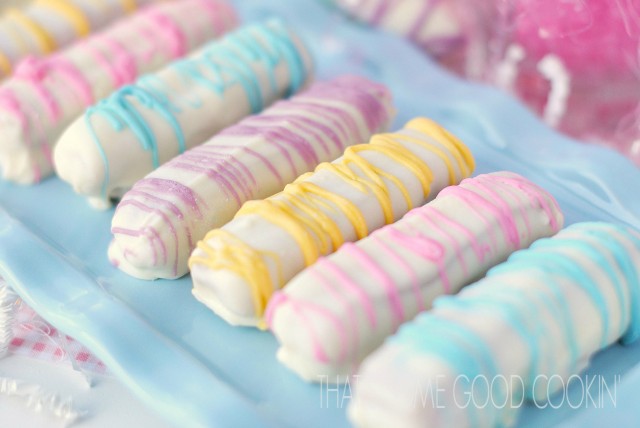
Through perseverance, the recipes for the cookie base and the caramel finally came together. (Thanks, Trink, for the suggestions about changes in the cookie recipe!) I don’t have a clue as to how to make candy melts, but I might have gone the homemade route on those as well if I had a recipe. Or maybe not.
Probably not.
Definitely not.
I do have my limits. I am so totally not on the Martha S design team.
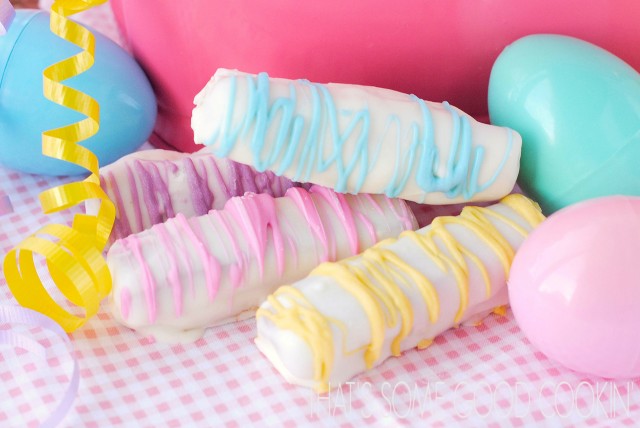
After all is said and done, this recipe knocks TWIX out of the ballpark. I learned so many valuable things through trial and error and feel pleased with myself. This is a product that is made by human hands, not a factory machine. Do you know how good that feels?
Thank you to my sweet daughters, Diddle and Trink, for your help. Thank you, Gavin, for making my day perfect when you showed sincere amazement that your Mom-Mom actually made the cookie and the caramel and didn’t buy them at the store.
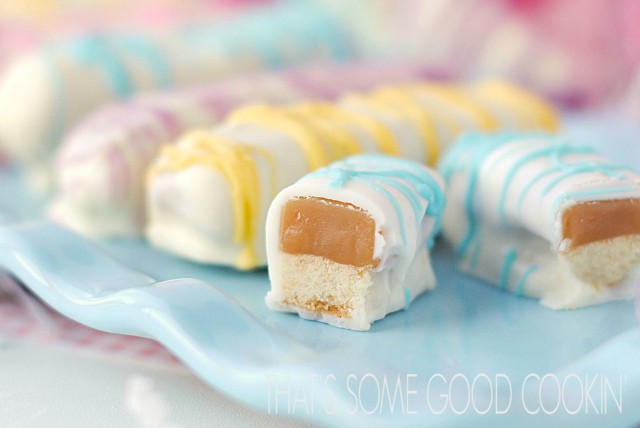
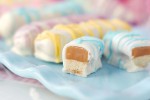
Spring “Twix” Cookie Bars
Ingredients
For the Cookie Crust:
- 2 cups all-purpose flour
- 1/2 teaspoon baking powder
- 1/2 teaspoon salt
- 1/2 cup butter
- 3/4 cup powdered sugar
- 1 egg yolk
- 1 whole egg
- 2 teaspoons vanilla extract
For the Caramel
- 3/4 cup butter
- 3/4 cup white sugar
- 3/4 cup packed brown sugar
- 3/4 cup light corn syrup or Lyle's Golden Syrup
- 1 14 ounce can sweetened condensed milk
- 1 teaspoon vanilla extract
For the Coating
- 24-28 ounces weight white candy melts
- 10-12 ounces weight total of colored candy melts of choice. Note: Candy melts generally come in 12-14 ounce bags. Save any remaining candy melts for another project.
Instructions
For the Cookie Base
- Preheat oven to 350-degrees F. Line a 9- x 13-inch baking pan with heavy aluminum foil. Butter the foil and set baking pan aside.
- In a medium mixing bowl, whisk together the flour, baking powder and salt. Set aside.
- Using a stand mixer or hand-held electric mixer, beat together the butter and powdered sugar until creamy, about 1 minute.
- In a small bowl, lightly whisk together the egg yolk and the whole egg. Add the eggs and the vanilla extract to the butter and powdered sugar mixture. Beat until well blended and smooth.
- Blend in the flour, a little at a time, until well incorporated. Transfer dough to the prepared baking pan. Using your hands, push dough evenly over the bottom of the pan.
- Bake for 16-18 minutes or until cookie crust is medium golden brown. Remove from oven and allow to cool completely in the pan. Putting the partially cooled pan in the refrigerator can help quicken the cooling process.
For the Caramel:
- In a 3 quart sauce pot, melt the butter over medium heat. Add the white and brown sugars. Continue to cook over medium heat, stirring or whisking constantly until mixture is smooth.
- Add the corn syrup or golden syrup and whisk together. Add the sweetened condensed milk, stir well. Using a pastry brush dipped in water, brush the sugar from the edges of the pot. This is necessary to keep sugar crystals from being reintroduced to the caramel. If sugar crystals are reintroduced to the caramel after it has been cooked to the desired stage, it will cause the caramel to crystallize and become grainy.
- Cook, stirring constantly, over medium or medium low heat until caramel is hot and bubbly and reaches a soft ball stage, about 240-245 degrees F on a candy thermometer. Stir in vanilla.
- Pour caramel over cooled cookie crust. Cool completely before proceeding. Again, the cooling process can be aided by placing the partially cooled pan in the refrigerator. When ready to proceed with coating the cookie bars, using the overlapping foil as handles, gently lift the caramel coated cookie slab and place on a cutting board. Carefully pull the foil away from the sides of the caramel and crust. (Leave foil in place under the crust.)
- With a sharp knife, cut into bars measuring approximately 3" x 1/2-5/8". There should be 69-78 bars. You may want to use a ruler to help make consistent cutting marks.
Finishing:
- Melt one bag of white candy melts according to package directions. Dip the bottom of each bar lightly in the liquefied candy melt. Set bars on parchment paper or silicone mats and allow the candy coated cookie bottoms to cool and set. This happens fairly quickly. Reserve any left-over white melted candy for use in the next step.
- Add the remaining bag of white candy melts to the bowl or pan with the reserved previously melted candy. Melt as before according to package directions. Dip the bars, top side facing down, into the melted candy, deep enough to cover the top and sides of the bars. Lift the bar out of the melted candy and allow excess to drip off of the end of the bar. Set coated bar on parchment paper or silicone mat and allow the candy coating to dry completely.
- When dry and firm, with a sharp knife, trim off excess hardened candy coating that extends beyond the bottom margins of the bars.
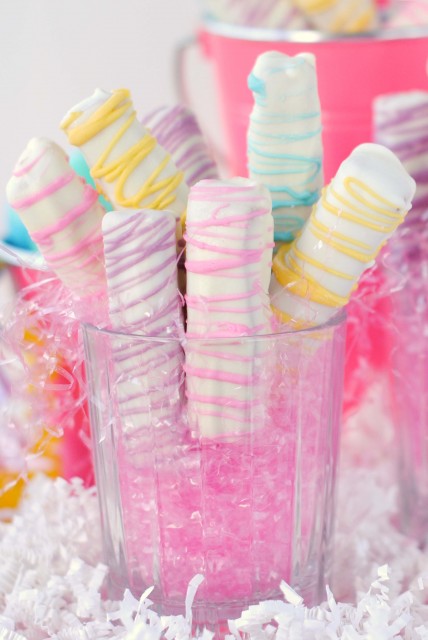
- Melt colored candy melts per package instructions. Drizzle melted candy over bars as desired. Allow bars to dry. Store, covered, at room temperature.
Notes
- Total Time: The total time for this recipe includes cooling and/or chilling time. This is a good recipe to make when you don't have a large block of time. Each component--the cookie base, the caramel, and the candy coating--can be completed individually as time permits. ie. bake and cool the cookie base, then as time permits, make the caramel topping and pour over cookie base. Cover to store, then decorate at your convenience. Candy Melts can be found in the baked goods decorating section of stores such as Hobby Lobby and Michael's, or may be ordered on-line. "Candy Melts" are a Wilton product, but similar candy discs are produced by other manufacturers.
- Inspired by Taste of Home
Cookie Base
Although these pictures show that I am using a stand mixer, I have also used a regular electric hand mixer with a large mixing bowl. I chose the stand mixer for ease in doing a step by step photo process.
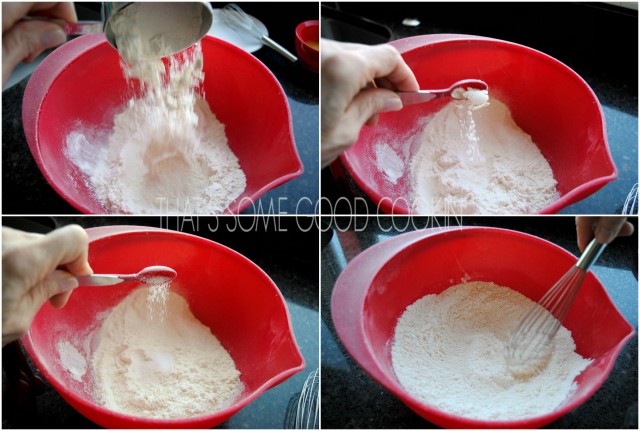 In a large mixing bowl, whisk together the flour baking soda, and salt. Wow! Look at you go. Good job!
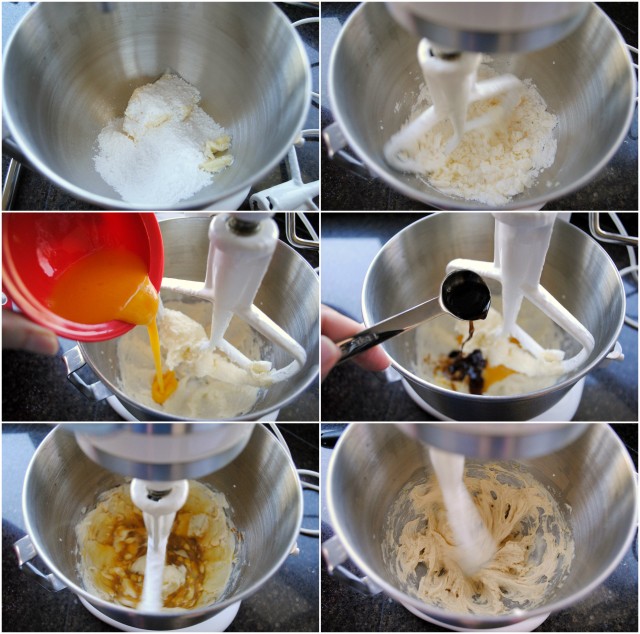 Begin by mixing together the butter and powdered sugar until smooth and creamy, about 1 minute. Add the lightly beaten egg and egg yolk and then the vanilla. Mix together on medium speed until well blended.
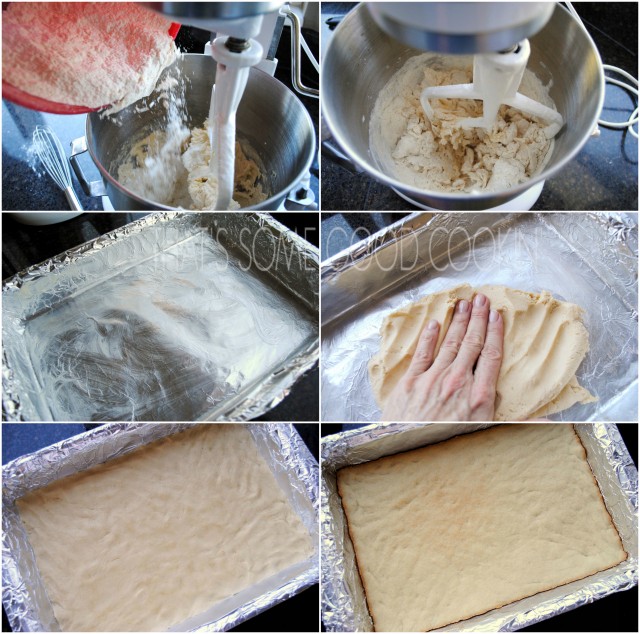 Add the flour mixture to the wet ingredients a little at a time, mixing lightly between additions. After the final addition of the flour mixture, blend on medium speed until ingredients are well blended and smooth. Put dough into the prepared baking pan (foil lined and buttered). Press the dough evenly over the bottom of the baking pan. Bake cookie base for 16-20 minutes or until golden brown. Remove from oven and allow to cool completely. The partially cooled cookie base can be put in the refrigerator for faster cooling.
Caramel
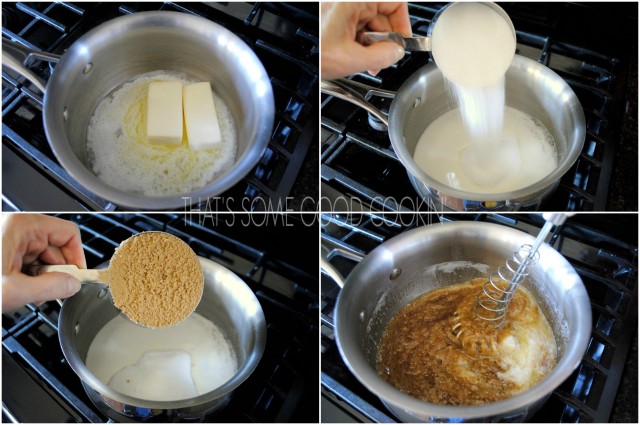 To prepare the caramel, begin by melting butter in a heavy bottom 3-quart sauce pot over medium heat. Add the white and brown sugars. Cook and stir over medium heat until smooth and well blended and just beginning to bubble.
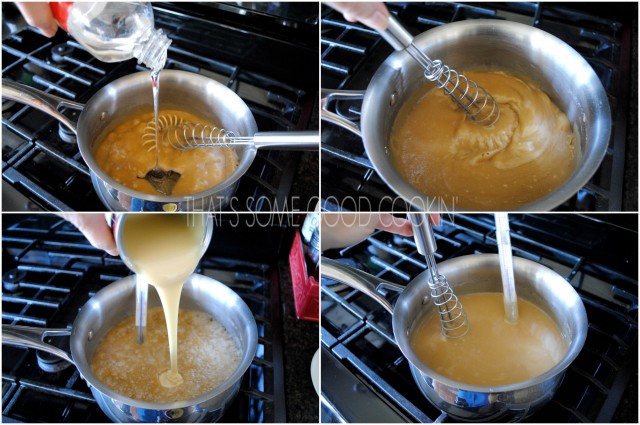 Add the corn syrup (or Lyle’s Golden Syrup) and stir or whisk to combine. Pour in the sweetened condensed milk and mix well. You see that I have a candy thermometer clamped to the side of the pot. Using a thermometer is important to the successful outcome of the caramel. You want to bring the caramel to a “soft ball” stage, which is 238-245 degrees F. If undercooked, the caramel will be too soft to hold its shape when it is cut into bars. If overcooked, the caramel will be too firm and difficult to chew.
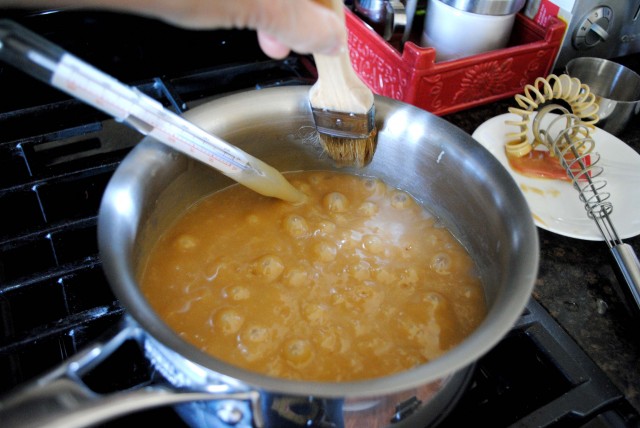 Take a moment from your stirring and with a wet pastry brush, wash down the edges of the pan to remove any sugar crystals which may have collected there. If sugar crystals are reintroduced to the finished product, they will cause more sugar crystals to grow (quickly!) and the caramel will be grainy. It doesn’t taste bad…its just sort of gritty instead of smooth. The water that is introduced to the caramel from washing down the sides of the pot will not effect the outcome of the caramel. After washing down the sides of the pot, start stirring again! STIR, STIR, STIR while the caramel is cooking. It took 15 minutes for my caramel to come to the “soft ball” stage. Your caramel time may vary. Just keep stirring so that the caramel will not burn on the bottom of the pan. Adjust the heat as necessary while you are cooking.
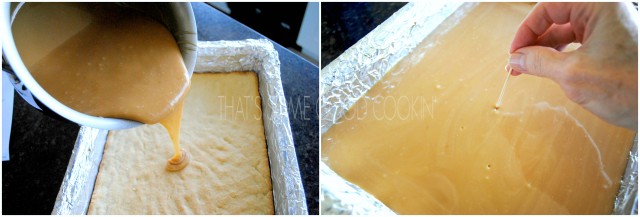 When the caramel has reached the soft ball stage, pour it over the cooled cookie crust. Shake the pan gently back and forth to level the caramel. You may see air bubbles just under the surface of the caramel; poke them with a toothpick to release the air…if you want to. Sometimes I do it and sometimes I don’t. (shrug) Allow the caramel to cool completely before cutting. Put the partially cooled pan in the refrigerator to speed up the cooling process.
Finishing
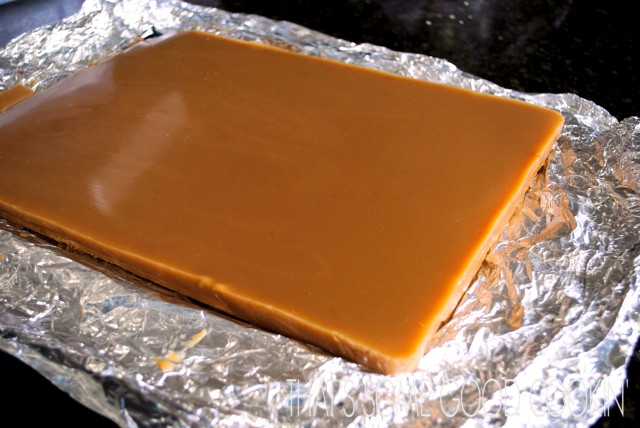 After the caramel has cooled completely, use the foil to gently lift the cookie/caramel slab from the baking pan and place on a cutting board. Leave the foil underneath the cookie/caramel slab.
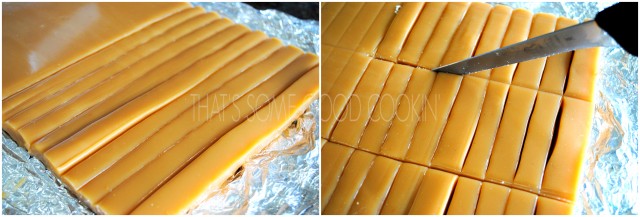 To cut into narrow 1/2″-5/16″ strips across the long edge. Cut across strips, dividing them into equal thirds. You should end up with 69-78 three-inch bars.
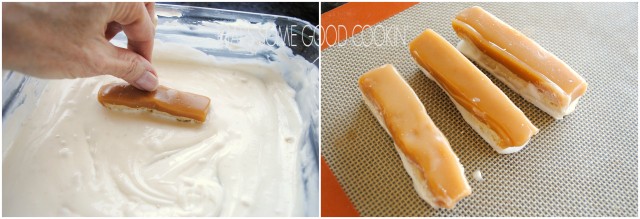 Melt 1 bag of white candy melts according to package directions. If using a microwave, use a bowl. In this picture I used an 8- x 8-inch baking dish. It did not work as well as I had hoped. A bowl is much better. Dip the bottom only of each bar in the melted candy, then set on parchment paper or a silicon mat to cool. Note: If the candy melts begin to thicken, reheat until desired consistency is reached.
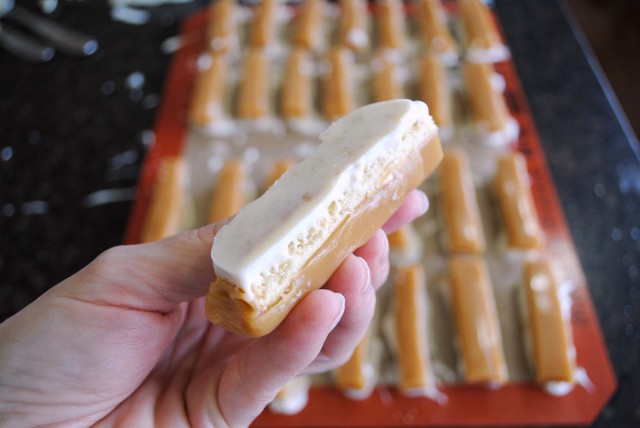 The candy on the bottom of the bars cool relatively quickly. I found that by the time I had dipped the last bar, the first bars had already cooled so that I was able to move on with dipping the top and sides of the bars.
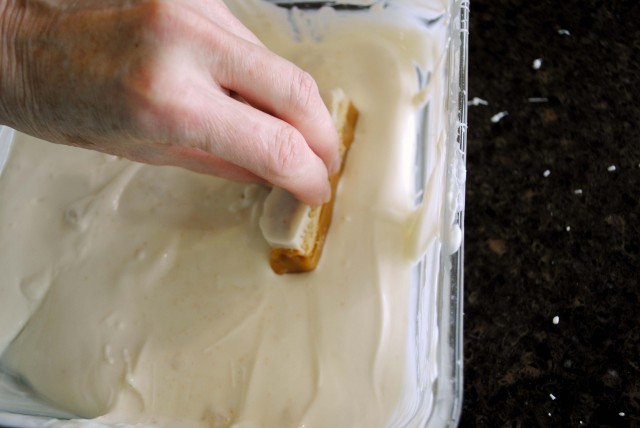 One the candy coating on the bottom of the bars has cooled, add another bag of white candy melts to any remaining white previously melted candy coating in the dish or pot. Melt according to package directions. With the caramel top facing down, dip each bar into the melted candy so the top and sides get coated completely. Hold the bar with one end toward the dish to allow any excess to drip off of the bar. Set aside on parchment paper or silicone mat to dry.
 When the coating has dried, trim the extra coating from the base of the bars.
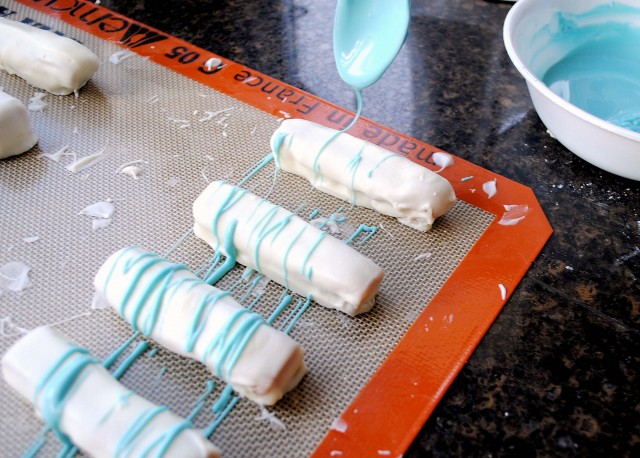 For decorating with candy melts: Working with one color at a time, melt according to package directions. Drizzle candy melt over the bars as desired.

You may also like:



How great are these??!!!! I’m a big caramel fan and I really love how cute you decorated these. Wish I had time to make them for this weekend, but I’ll have to wait for another day. Hope you have a great holdiay!
Thanks, Patricia! The great thing about these bars is that with a little change of color in the candy melts they can work for so many different occasions–4th of July, Halloween, Christmas, baby showers, birthdays, etc. I still have tons of these in the kitchen from my experimenting. I think I’ll go ahead and decorate them in different colors and do some more photo shoots now!
You could not have made these twix bars any more perfect. Then you did by making them perfect for Easter. Wow.. I am totally impressed by your skills here. Heck, I don’t think I would have ever been able to cut all those bars out so evenly!! Fantastic job and you should be immensely proud!!
Wishing you and your family a wonderful and joyous Easter!