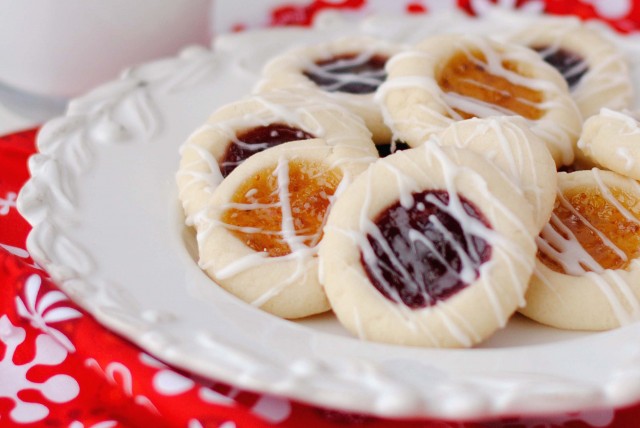
Tender and buttery, these classic shortbread thumbprint cookies look impressive and easy to make. The jam can be varied to compliment the occasion.
This post has been two years in the making. True.
Two years ago in December a patient’s husband brought a large platter of fresh, warm cookies for the staff. Among the cookies were some shortbread thumbprint cookies with raspberry jam. Medical staff, by nature, are suspect of homemade food brought in by anyone other than themselves. We can’t help it. We know what might be lurking in homemade treats and in the homes from which said treats come.
We are germaphobes, sort of. And with good reason. We clean our hands endlessly. We clean our work stations daily. We would clean each other with copious amounts of heavy duty germicides if we thought we could get away with it. A single sneeze or sniffle can clear an entire charting room instantly. We are so weird.
So, back to that amazing looking platter of cookies. While everyone else was regarding the cookies as the most avoidable elephant in the room, I was looking longingly at the shortbread thumbprint cookies. I believed in them. I knew with all my heart that they were safe. So, I finally reached under the plastic wrap and snagged one. And took a bite. And went to heaven.
Everyone was staring at me. I could hear their hysterical, incredulous thoughts about how I was an idiot for eating food not of our own making. Without batting an eye, I reached under the plastic and took another one before I announced, “You guys are crazy. These are the most amazing cookies I have ever eaten. AND, they are still warm!”
I got out of the way just in time as the pack pounced on that cookie platter. “Hey,” I yelled over the mayhem, “What room is the patient in whose husband brought those cookies?” Someone called out the room number to me and I dashed off to find The Cookie Man.
Upon entering the patient’s room, I found her husband sitting on the couch. “Are you the one who made that platter of cookies?”
The husband looked hesitant, but the wife smiled warmly even though she was obviously in a lot of pain. “I told you they’d like them,” she said between short, painful breaths.
“I just want you to know,” I blurted out to the husband, “I am in love with you!”
Sheesh. Talk about an ice breaker. The wife actually managed to chuckle. The husband smiled, ducked his head and turned a lovely, light pink color. “He makes those cookies every year,” the patient said. “He makes big platters of them to give away.”
I immediately asked for the recipe. “Well, they’re really easy,” said the husband. “There’s only a few ingredients…some flour and butter and sugar…and something else, but I can’t remember the amounts right this minute.” He was clearly embarrassed and at a loss for words because suddenly there were two others of my coworkers who had just somewhat rushed into the room, both babbling about the cookies.
The man assured me that he would bring the recipe the following day. Having extracted a promise from him, I returned to the charting room in time to see the last of the cookies being covered with paper towels and shoved into a waiting purse. “I’m taking this one home to my husband!” announced a coworker. Everyone else was draped over and around the chairs in the charting room, munching away on their cookie stashes.
The barren platter made me laugh. “Just think,” I told myself, “Those could have been all yours if you had just kept your mouth shut.”
Naturally, as luck would have it, I was not working the following day when, as promised, the cookie man brought copies of his recipe for us. No one bothered to save a copy for me. Ingrates. All they had to do was to put a copy of it in my mail box in the lounge. Seriously…just walk down the hall and put a copy in my mailbox!
With a bit of effort I found a momma bear recipe all by myself. You remember momma bear…as in The Three Bears. She was the one who had everything “just right”. It took me a long time to settle on a recipe. I think that maybe I had cookie anxiety. I had had the perfect cookie and how was any other recipe ever going to measure up to that recipe? The very recipe that I did not have. The recipe by which all other shortbread cookie recipes with raspberry jam are measured. The barometer of thumbprint cookie recipes.
After finding the momma bear recipe, I made those cookies several times last December. I made the cookies and ate the cookies and wore the cookies around on my hips for a few weeks. What I did not do was post the cookie recipe here, or anywhere else for that matter. It was a rough month last year, but at least I had those cookies.
This is not a new cookie recipe by far; it really is all over the internet…if you use the correct verbiage. I kept typing in “thumbprint cookies” and was not successful in finding something that sounded like the correct recipe. However, I have discovered that when the key word “shortbread” is added to the words “thumb print cookies” the momma bear recipe pops up on many different blogs and websites. Now I have it posted on my blog.
Cook’s Notes:
- Make sure the butter is at room temperature. Do not “soften” it in the microwave because it may get too soft or even melted. This will give an incorrect texture and will effect baking success.
- Spoon the flour into a measuring cup. Do not scoop the flour with the measuring cup. You will end up with too much flour. Each cup of flour weighs about 4.3 ounces. Use a kitchen scale, if you have one.
- If your dough is too soft to handle (mine was not), put it in the refrigerator for 15-20 minutes before forming into cookies.
- The indentation for the jam can be made with the back of a round 1/2 teaspoon measuring spoon, a small lid such as is on a chapstick tube or a bottle of extract, a cork, or the handle end of a wood spoon. Only press partway into the dough; don’t go all the way to the bottom of the cookie because the jam will leak through the bottom. If the indentation is not deep enough, however, the jam will spill out over the sides of the cookie while baking.
- If the dough cracks when the indentation is made, simply press it gently back together with your fingers. No biggy.
- Use jam, not jelly or preserves. Jam has the right consistency for baking. Stirring the jam well will aid in making it the right consistency for putting into the indentation.
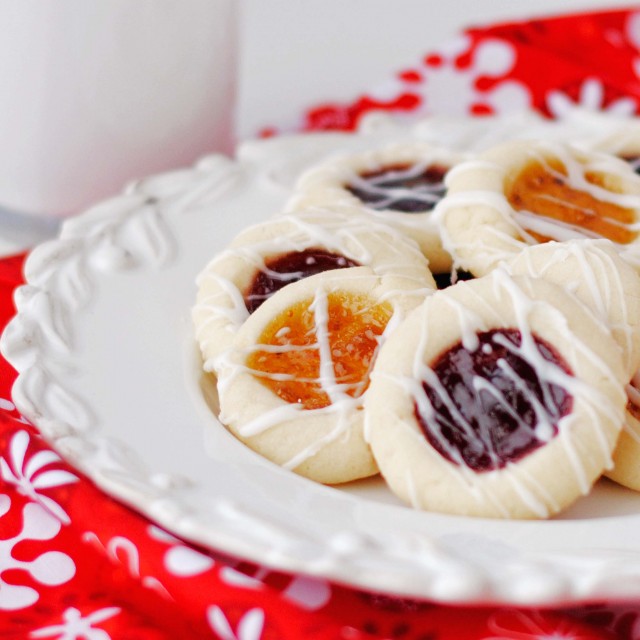
Almond Shortbread Thumbprint Cookies with Raspberry Jam
Ingredients
For the cookies:
- 1 cup butter, softened (I used salted butter)
- 2/3 cup white granulated sugar
- 1/2 teaspoon almond flavoring
- 2 cups (8.6 ounces, weight) white all-purpose flour
- 1/2 cup seedless raspberry jam
For the glaze (optional):
- 1/2 cup powdered sugar
- 1/2 teaspoon almond extract
- 3-5 teaspoons milk
Instructions
- Preheat oven to 350-degrees F. Prepare baking sheets either by lining them with parchment paper or a silicone baking mat, or leave them ungreased. Set aside.
For the Cookies:
- In a large mixing bowl, beat butter with an electric hand mixer on medium speed for 30 seconds. (This recipe can also be made in a stand mixer.)
- Add the sugar and almond extract and mix just until combined.
- Spoon flour into a 1 cup measuring cup and level. Add the flour to the butter/sugar mixture and mix on low speed just until blended. Each cup of flour weighs 4.3-4.5 ounces.
- Add the second cup of spooned four to the mixture and again mix just until blended. If the mixture is too heavy for your electric mixer, then stir the mixture with a sturdy spoon until well combined.. Do not over-mix.
- Pinch off a small portion of dough and roll into a 1-inch ball. Place 12 dough balls on a prepared baking pan. I used a cookie scoop for consistency.
- With the back of a round 1/2 teaspoon measuring spoon or other suggested object (see intro at top of page), form a depression in each dough ball, about halfway into the dough. If the dough cracks, gently push the edges back together. I have found that too much flour in the dough makes the dough less malleable and more likely to crack.
- Fill the depression with 1/2 teaspoon of seedless raspberry jam or jam flavor of choice.
- Bake for 10-12 minutes, just until bottom of cookies turn a very light brown. Place on cooling rack to cool completely before glazing.
For the glaze (optional):
- Mix the glaze ingredients together until smooth, adding milk by the teaspoon until glaze is of drizzling consistency.
- To glaze, place the cookies on a cooling rack, then place the rack over a piece of parchment paper to catch the drips. Drizzle the glaze lightly over cooled cookies with a spoon..
Notes
- Butter: Make sure the butter is at room temperature. Do not “soften” it in the microwave because it may get too soft or even melted. This will give an incorrect texture and will effect baking success.
- Flour:Spoon the flour into a measuring cup. Do not scoop the flour with the measuring cup. You will end up with too much flour. Each cup of flour weighs about 4.3 ounces. Use a kitchen scale, if you have one.
- Dough Texture: If your dough is too soft to handle (mine was not), put it in the refrigerator for 15-20 minutes before forming into cookies.
- Making the Indention on the Cookies: The indention for the jam can be made with the back of a round 1/2 teaspoon measuring spoon, a melon baller, a small lid such as is on a chapstick tube or a bottle of extract, a cork, or the handle end of a wood spoon. Only press about halfway into the dough; don't go all the way to the bottom of the cookie because the jam will leak through the bottom. If the indention is not deep enough, however, the jam will spill out over the sides of the cookie while baking. If the dough cracks when the indention is made, simply press it gently back together with your fingers. No biggy.
- Use Jam: Use jam, not jelly or preserves. Jam has the right consistency for baking. Stirring the jam well will aid in making it the right consistency for putting into the indention.
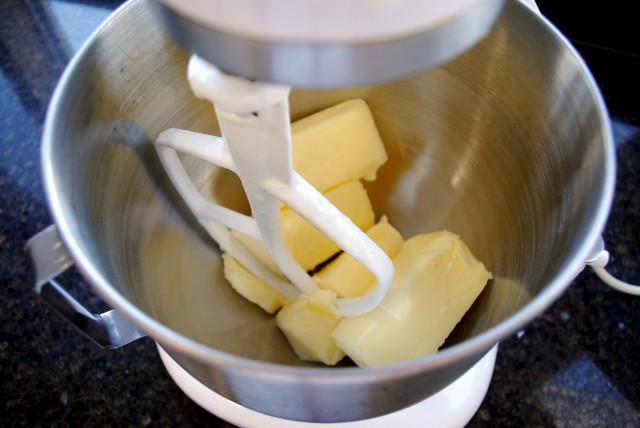 I doubled the recipe for this batch of cookies, hence the four sticks of butter. It’s important to have the butter at the right temperature for cookies. Butter that is too soft will cause the cookies to spread all over the pan. No melted butter from the microwave, okee dokee?
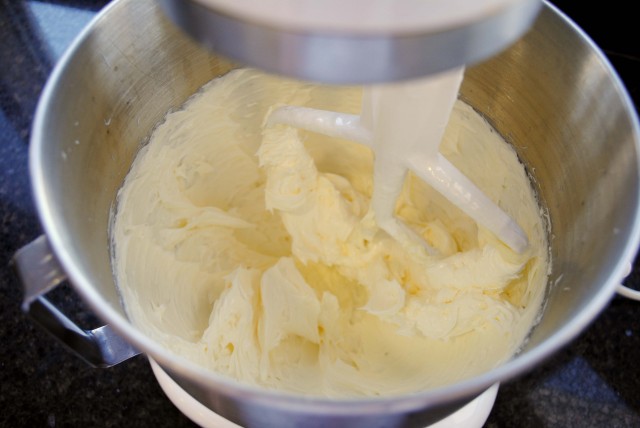 Beat the butter for about 30 seconds. Do not beat until light and fluffy.
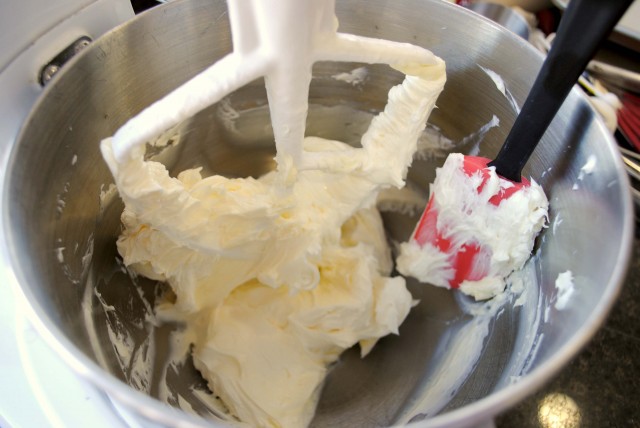 Scrape down the sides of the bowl before adding the next ingredients.
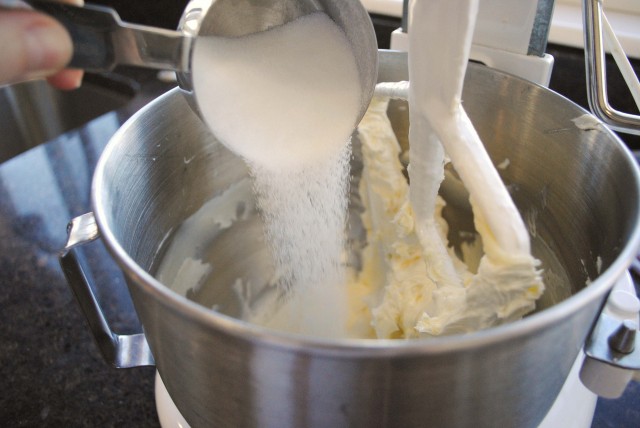 Add the sugar, Sugar.
<
p style=”text-align: center;”>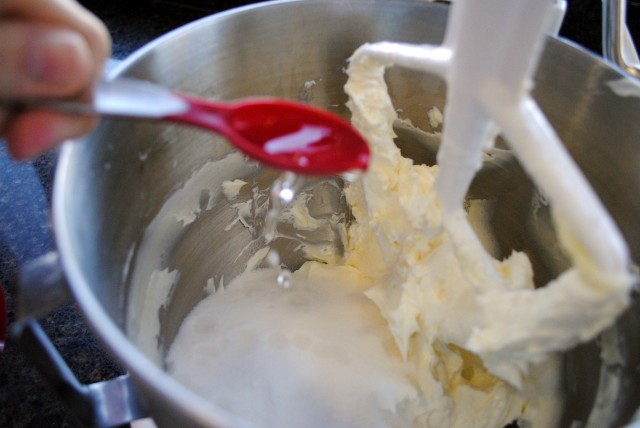 Add the almond extract as well. Gosh, I love the flavor of cookies with almond extract. Which reminds me, you really need to try out Swedish Almond Cake. It is super easy to make and people to whom I have given it have been known to hoard it from their kids. It is more like a cookie than a cake and SO worth your time to make.
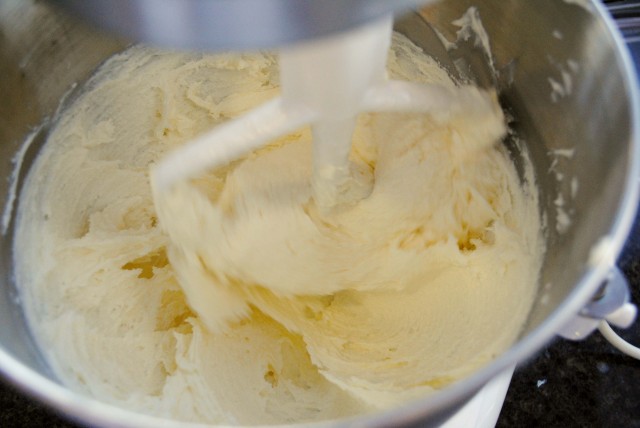 Cream the butter, sugar, and almond extract together just until well combined. Do not beat until light and fluffy.
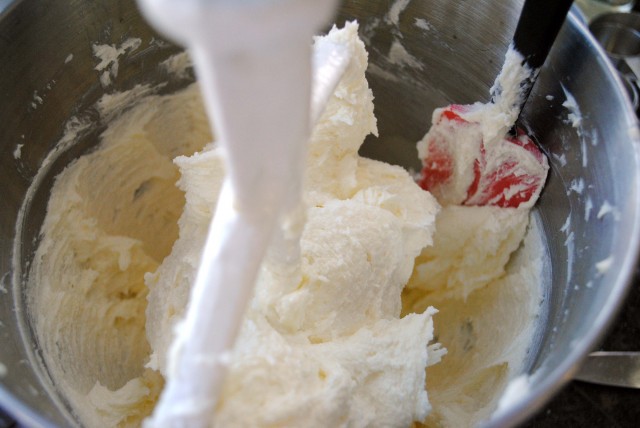 Again, scrape down the sides of bowl before proceeding to add the flour.
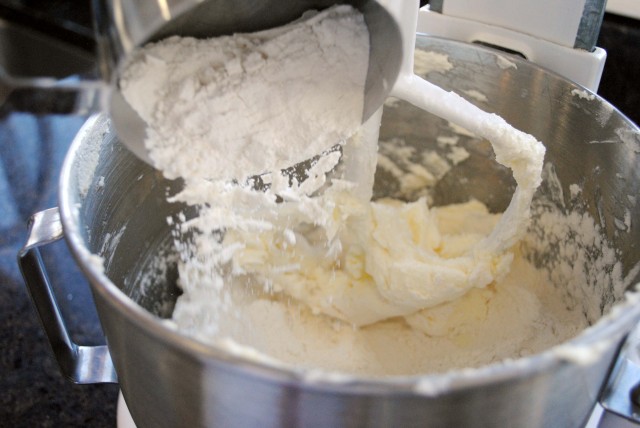 Huge Note: Spoon the flour into the measuring cup, no scooping! Scooping compacts the flour and you will end up with brick bats instead of cookies. If you have a kitchen scale, each cup of flour should weigh about 4.3-4.5 ounces. Those are magic numbers. Now, you can start adding the flour to the bowl. It’s a good idea to add flour slowly while the mixer is running on low, if you are using a stand mixer. If using a hand mixer, alternate adding flour and mixing a for a few seconds on medium.
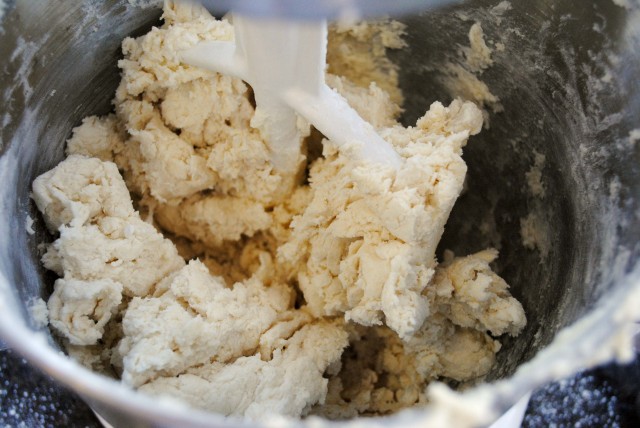 Once all of the flour has been added, the dough is going to look somewhat disastrous. You may have to stir in the last of the flour by hand. Make sure that the ingredients are well mixed, but don’t go overboard. You’re not making bread, so don’t do any of that crazy mixing stuff to work up the gluten. When I was through mixing my dough, it was was soft, slightly on the crumbly side, but still firm enough to hold its shape. If your dough is too soft and sticky or gooey, add some more flour a tablespoonful at a time just until the dough can be molded in your hand and hold its shape.
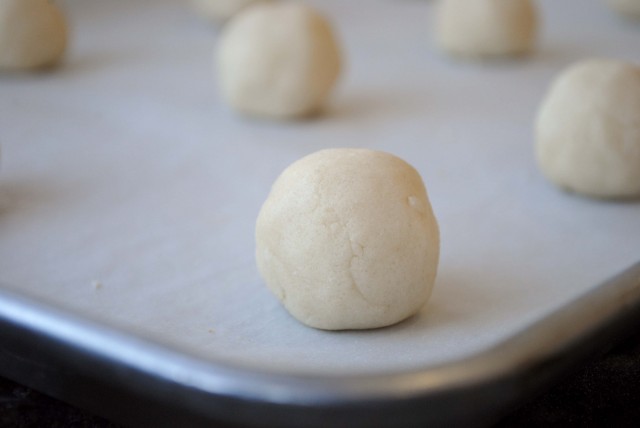 Shape the dough into 1-1 1/2 inch balls. I use a small cookie scoop for size consistency, then roll the dough between my palms to shape it into a ball. Place 12 balls of dough evenly spaced on a baking pan. I use parchment paper for baking cookies. I really like using it. I also have a Silpat which works well, too. Please note: If using a bare, unlined baking sheet, do not grease the baking sheet.
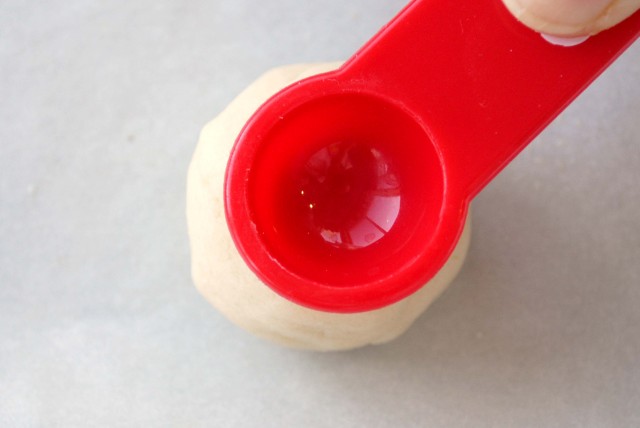 Okay, you can use a variety of objects, including your thumb, to make an indentation in the dough. I have used the end of the handle from a wooden spoon, a small bottle cap, and a 1/2 teaspoon measuring spoon. I like using the measuring spoon the best. My least favorite? My thumb. Press the spoon or whatever about halfway down through the dough. Don’t go all the way to the bottom or else the jam will leak through. Additionally, make the indentation deep enough to accommodate 1/2 teaspoon of jam.
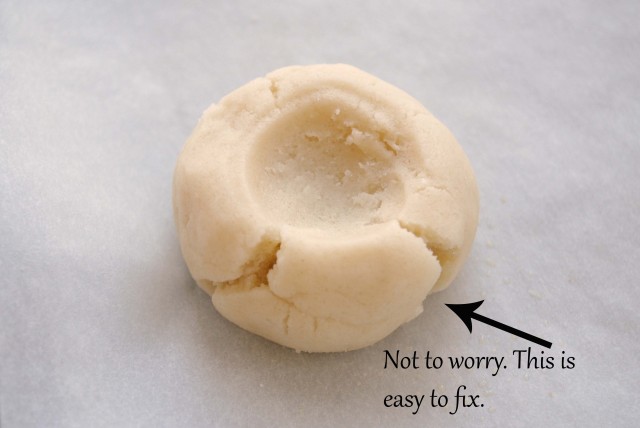
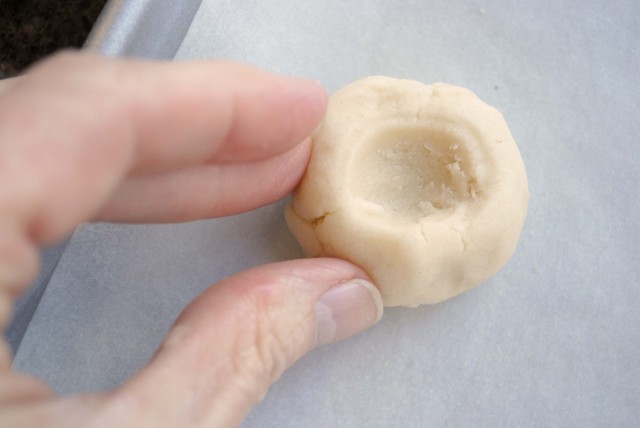 If the dough cracks on the edges, simply gently press the seams of the cracks back together with your fingers.
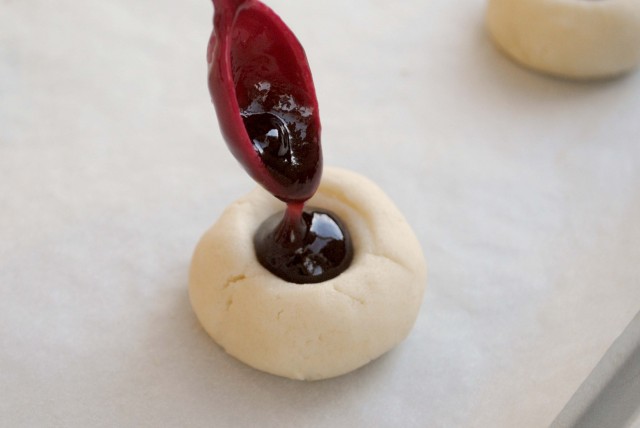 If the indention is too shallow, the jam will flow over the edge of the cookie as the cookie expands during the baking process. If you noticed, I emphasized the word “jam”. Don’t use jelly because it will become too liquid and seep into the dough. Preserves have fruit lumps and won’t work well, either. 1/2 teaspoon of jam is perfect for this cookie. Bringing the jam to room temperature and stirring it briskly will make it easier to put into the indentation.
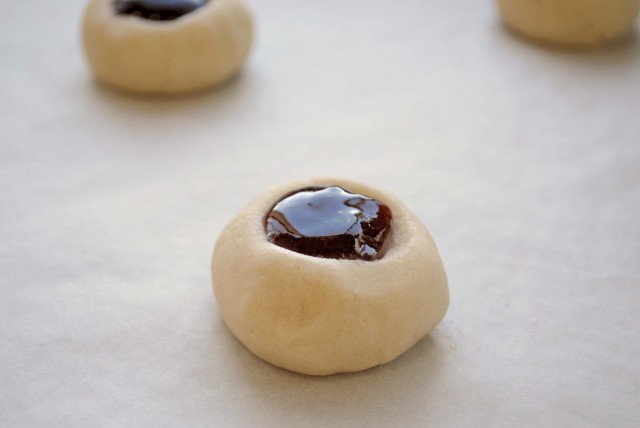 The first time I made these cookies, I did not believe that everything would work out alright with the jam. 1/2 teaspoon seemed like way too much jam, but it was the perfect amount. You may have to play around with learning to make the depression adequate for the jam. So, save yourself a potential headache and use parchment paper beneath the cookies to catch any jam drips.
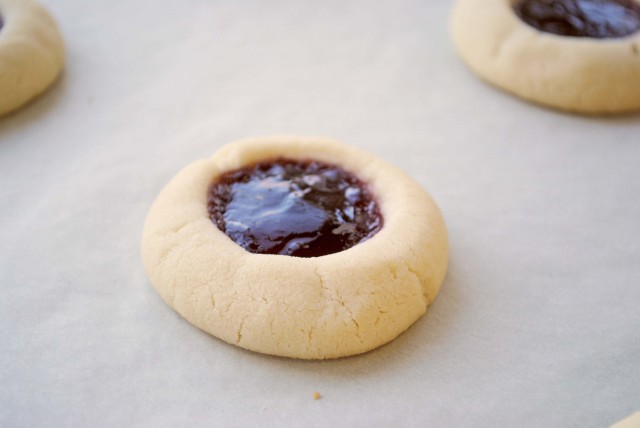 Bake just until the cookie is a pale golden brown on the bottom. The check, gently lift the edge of one of the cookies with a spatula. If it is lightly golden, then the cookies are ready. The visible portion of the cookie will be pale. If you bake the cookies until the upper portion is golden, then the cookies are over-baked. Use your best spidey senses for a “just right” cookie.
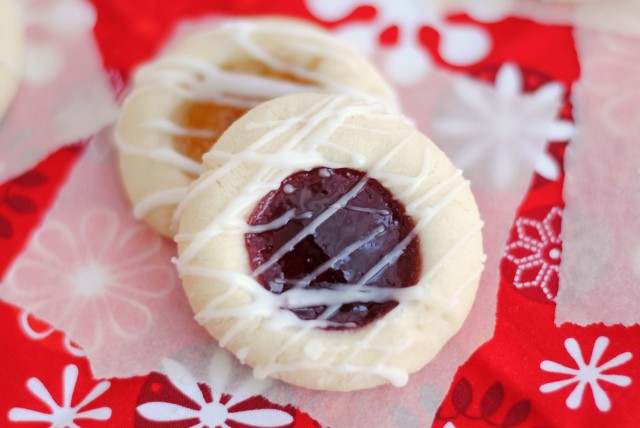
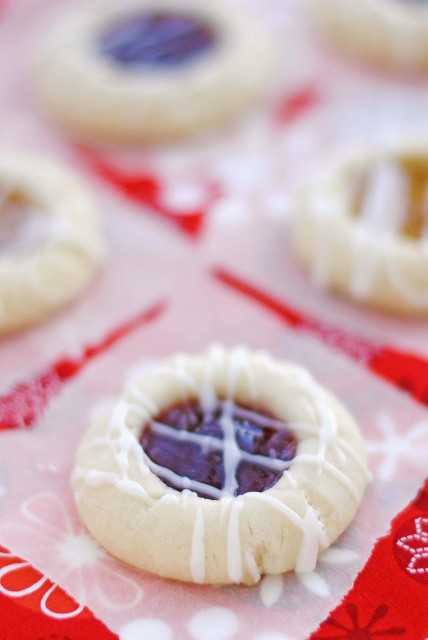
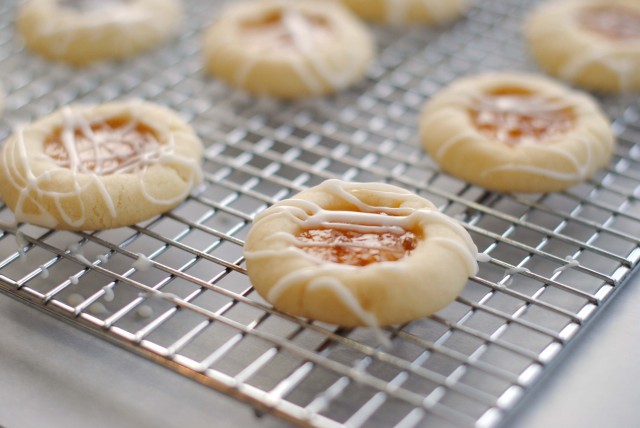 Aren’t these so pretty? I had a little bit of fig jam left in a jar in the fridge, so I decided to use it up on these cookies. I had exactly enough to make 1 dozen cookies, although admittedly I had to scrape the sides of the jar clean to eek out jam for the 12th cookie.
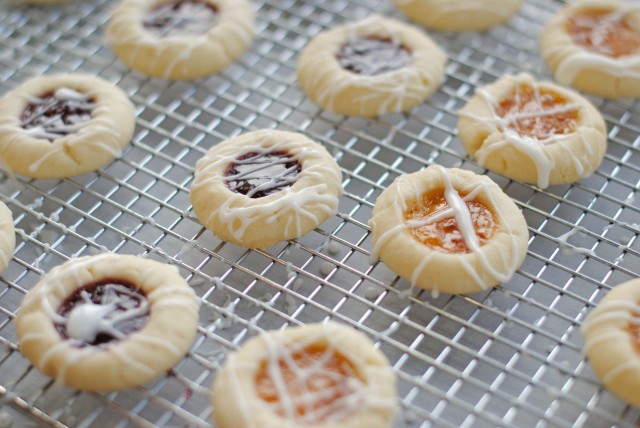 Mix up the glaze ingredients. I don’t know how much milk to tell you to use; use your best guess. The original recipe called for 2 teaspoons of water, but I wanted to use milk. I ended up needing a little more than 5 teaspoons to get the glaze thin enough for drizzling. Personally, I think that the glaze is more for looks than it is for taste. To me, the cookies taste plenty sweet without the glaze. For glazing, place the cookies on a wire rack and then put the wire rack over some parchment paper to catch the drips.
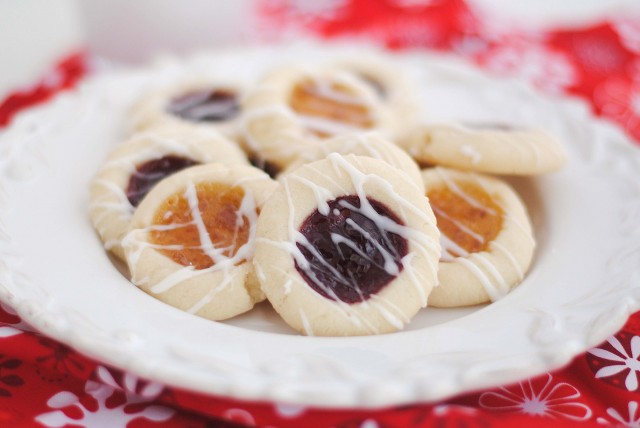 Now, go get some milk to drink and have yourself a few cookies.



Wow.. your step by step photos are fabulous!! I love thumbprint cookies.. they are my favorite Christmas-y type cookie. I loved the story too.. germaphobe. I can relate a little. But I am glad you went for it and ate the cookies.
  Have a wonderful weekend.
Yep, my favorite Christmas cookie, too!
You must be able to read my mind! Last time you posted roll recipes when I needed one for Thanksgiving. By the way, the potato rolls were a big hit and went a long way toward making me the roll-making legend in the family :)) Last night was looking for thumbprint cookie recipe to use with some wonderful holiday jam I bought. You rock!!
A legend in your own time…the rest of us can only dream. (giggle) Oh, and that mind reading thing? Just one of my many talents. I’m so glad to have been able to help you in your hour of need.
Seriously, though; I’m so glad that the potato roll recipe worked well for you. I am a worrier by trade, so when someone writes to tell me that a recipe worked for them, I get so happy! Thank you! ~Terri
Ohhhhh, yum! Homemade raspberry jam!
I have never made thumbprint cookies but your pictures made me want to try them immediately. I wanted to include them in my Christmas cookies this year so I followed your recipe EXACTLY. However, my cookies spread terribly & the jam came through the bottom. I then tried chilling the dough & made sure the indentation was not too deep, but the next batch spread also. They didn’t look anything like yours & they didn’t seem to be done. I ended up throwing the entire batch in the garbage. I would really like to make these & wondered if you have suggestions? Thanks Terri!
Cheri, I am so sorry about the cookies. It makes me sad to think about you wasting your time and money on this recipe. I haven’t had any problems with it, but that’s not what you want to hear, right? I do, however, completely understand how it feels to have flat cookies. Every time I try out a new cookie recipe I hold my breath while the first batch is baking. My expectations are that the cookies will either spread all over the pan or not spread at all.
I spent some time this afternoon researching reasons why cookies go flat and then reviewed the recipe to see how I could improve the instructions to assist bakers in having success. There was definitely an error on my part when I stated that the cookie sheets could be lightly greased. Unlined cookie sheets should not be greased. I also was probably misleading in the way I described the mixing process. It would have been most correct to state that the butter should be beaten for about 30 seconds, but no longer than 1 minute. Additionally, when the sugar and the almond extract are added to the butter, the dough should be beaten just until the ingredients are well combined.
I also wonder if maybe your cookies needed more flour. When I make these cookies, the dough is soft, but a bit on the crumbly side. It still holds together well when pressed or rolled. I live in a dry, high desert climate and doughs (breads, cookies, etc.) dry out quickly. I can imagine that in a more humid climate the dough would take on moisture, making it stickier. Often this type of recipe requires refrigeration before being formed into cookies. I have never had to do this, but I don’t know why. For me, refrigeration made the dough too hard to form into balls.
One thing that I did read, however, suggested chilling the formed cookie balls in the refrigerator prior to baking. This may help reduce the spreading, but it would be an extra, fussy, step in making cookies. It would be worth the extra time, though, if the cookies turned out well.
From my research, I have found that there are some common reasons for flat cookies:
1. Oven Temperature. Using an accurate oven thermometer, check your oven to make sure that it is at the correct temperature. A slow oven will cause cookies to bake too slowly, allowing them to spread.
2. Butter. Butter needs to be “softened”. Softened butter is just soft enough so that when a finger is pressed on top of it, the butter will dent. It will be warm to the touch, but still firm enough to hold its shape when picked up. If the butter is too soft when the dough is mixed, the ingredients will not incorporate with each other correctly.
3. Baking sheets. Unless otherwise stated, baking sheets should be ungreased. Lining baking pans with parchment paper or a silicone baking sheet are also great options. Greased baking sheets do not offer any resistance to the cookies as they rise during the baking process. Cookies generally have enough butter or other “grease” in them to prevent them from sticking to the pan.
4. Over mixing the dough. As a general rule of thumb for cookies, when the instructions state to “beat” or “cream”, they are referring to a mixing period of 30 seconds, unless otherwise stated. Over-mixing will cause too much air to be incorporated into the cookies which will then lead to increased spreading when baked. It’s a science thing.
Here are some links that you may find of help:
David Lebovitz: Tips to Keep Cookies from Spreading
Sweetopia: Top 8 Tips on Preventing Cookies from Spreading
The Land o’ Lakes Blog: Cookie Know-How: Why do my cookies spread?
What’s Cooking America: Cookie Tips–Secrets to Making Perfect Cookies
This link is about making the perfect chocolate chip cookie, but it has an amazing tutorial with pictures showing the effects of different ingredients on cookies. This was one of the first things I ever pinned on Pinterest! Great reference material.
Again, I am so sorry that things did not work well. I hope that you are able to find some answers from the information above. I have made some changes to the instructions to try and be more specific about the dough. As fearful as I am to say this, if you do try this recipe again, please let me know how things work out. ~Terri
these are one of my favorite holiday cookies. they look great!
Thanks, Dina. Glad to have a kindred spirit! ~Terri
How many cookies does your recipe make?
This recipe makes 30-36 cookies. It is written at the top of the printable recipe in the upper left hand corner.