So many recipes, so little time. Gosh, if my life was judged by how many posts I make on my blog, it would get a D-. However, my life is full and my time is often spent in unexpected yet familiar arenas. I say unexpected because I start each day with a plan which generally unravels then re-ravels itself in ways I did not plan. Often the re-raveling involves spending unexpected time with my family. No complaints about time spent becoming a part of the day’s tapestry involving family.
In the wee hours of the morning I often wax philosophical. It’s after 2:00 AM as I am writing this post and I am thinking about the past month with all of its wonders. Ander’s unexpected early birth, Tricia’s health problems, Matt going to Florida to work, Katie deciding to move back to the “big city”, getting to spend so many days caring for my grandsons…lot’s of things…even my daughter’s old high school track team buddies and their husbands/wives and children having a last minute party in my back yard because a grill situation had not worked out and they needed to use our grill. It was an interesting experience, seeing all of those young adults who used to hang out in my back yard when they were teenagers, now hanging out in my back yard with families of their own. Children, babies, and more babies on the way: Life’s tapestry.
Just as it used to be in bygone days, the track team happened to show up just as something was coming out of the oven. One of the things that brings me the most enjoyment in the kitchen and always says “home” to me is making bread or rolls. Bread is family. Bread has its own rhythm–rising, falling, rising again. The dough is kneaded and shaped, a series of raveling and unraveling and re-raveling so that the final product is so much more than its beginning. It’s sort of like the track team having been together as teenagers, then each individual going their own way over the past ten years, and once again reuniting, having increased their lives with the inclusion of spouses and children and jobs and further education.
How did they “know” that there would be hot rolls just coming out of the oven? It was uncanny.
The rolls that I had made were inspired by recipes I had seen from various sources for King’s Hawaiian rolls. After some experimenting with on-line recipes, I decided to modify my “Sunday Best” Rolls recipe. It is a delicious, can-always-count-on-it kind of recipe and I felt comfortable changing various elements of it to accommodate some of the ingredients I saw in other recipes.
One of the key changes that I made was to use coconut oil in place of the butter. As I experimented with using coconut oil, I noticed that the dough felt “silky”, or maybe “satiny” would be a better word. I can’t think of any other way to describe it. It was soft and smooth and handled beautifully.
Another change that I made in the recipe included using honey instead of sugar which brought extra moistness to the dough. Of course there was the requisite pineapple juice and I also added some ginger.
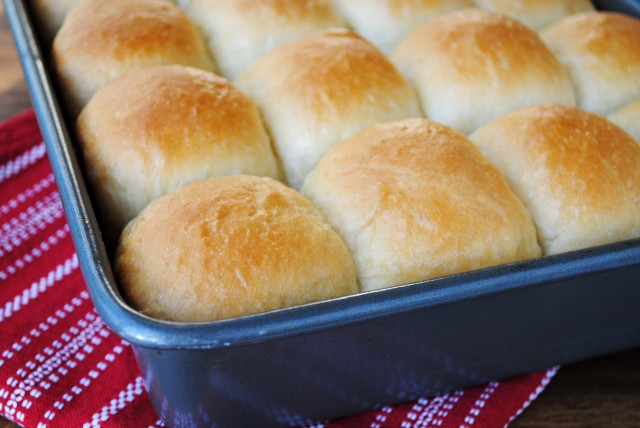
The rolls turned out light and tender with a hint of coconut. Their sweetness provides a great flavor contrast to savory main dishes such as barbecue and kalua pork, as a side for Thai Peanut Noodle Salad, or even piled high with chicken salad. Happy baking!
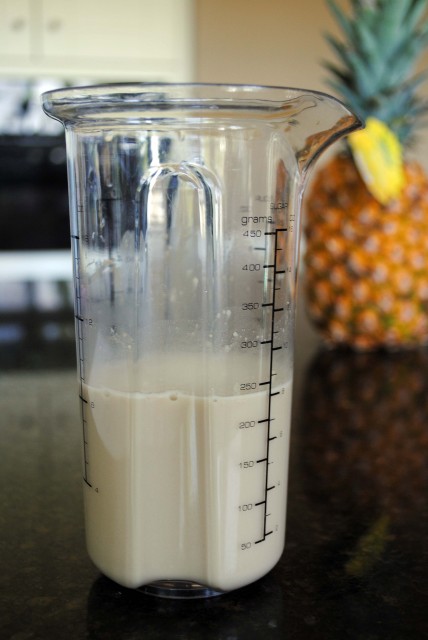 Proof the yeast in the warm water with a pinch of sugar. I nearly always do this, even if I am using an instant yeast. There have been too many times when I have had yeast that did not activate in dough. So, I want to make sure that I get the yeast going before I add it to all of the other ingredients.
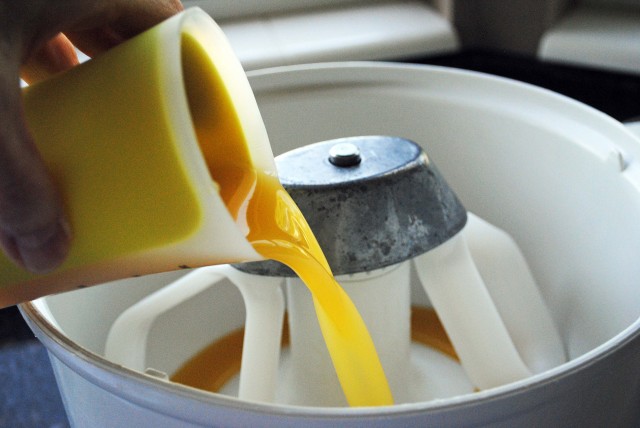 Add the pineapple juice. I used a brand of pineapple juice that comes in a jar. I like the flavor better than pineapple from a can…no metallic “can” taste in it.
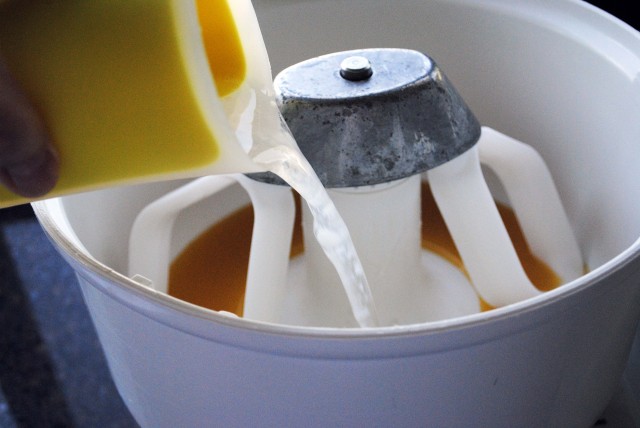 This is the coconut oil. It is typically a soft solid at temperatures below 76 degrees F. I slightly liquified it in the microwave for about 15 seconds on high. There are a mixture of solids and liquids at this point. Perfect.
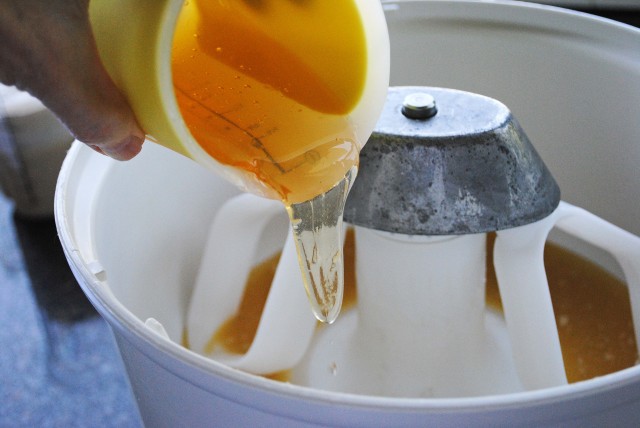 Add the honey. I used honey from a local farm. This is really good stuff. Utah bees definitely know their business.
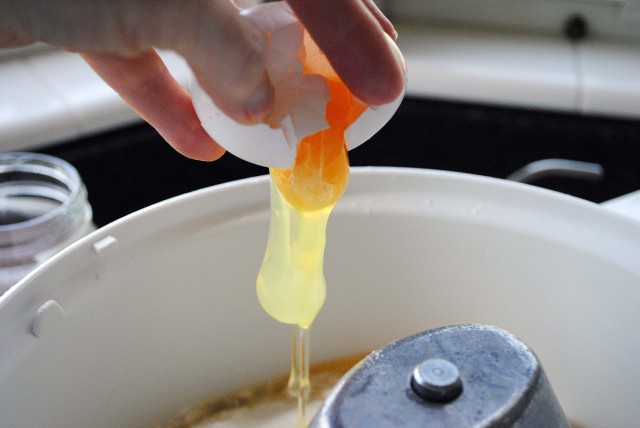 Now for the chicken ovum. Two of them. Yay for chickens!
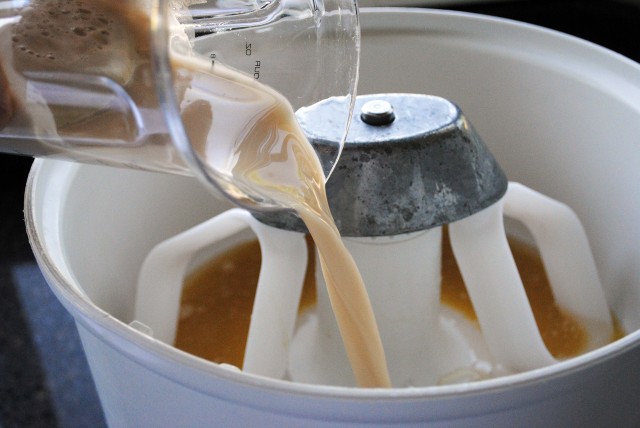 The yeast did it’s thing, rose and got all foamy. You can see the foam lingering behind the liquid.
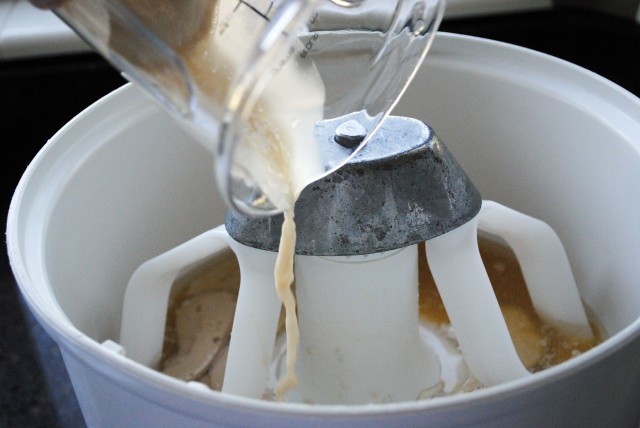 Make sure you get the foam added to the bowl as well. No yeast left behind.
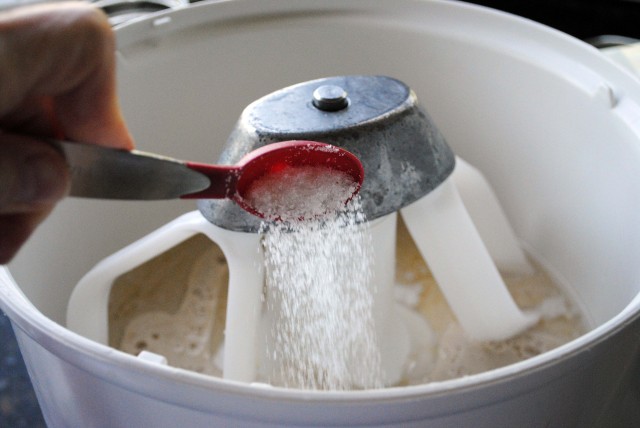 Add the salt. I used sea salt…paradise…sea salt…the sea…a quiet Caribbean beach…sigh.
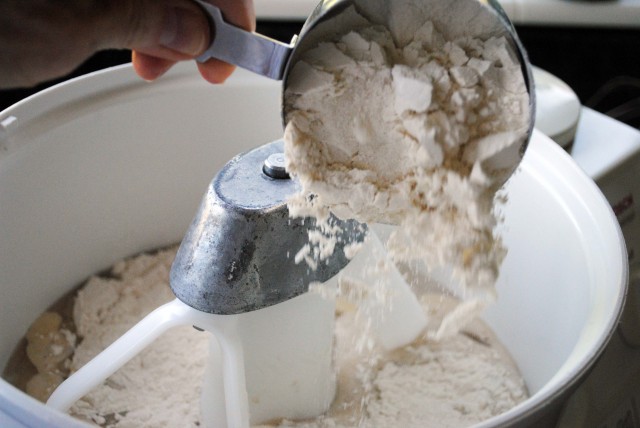 Add four cups of flour…or was it three? Whatever I said in the directions…add that much flour.
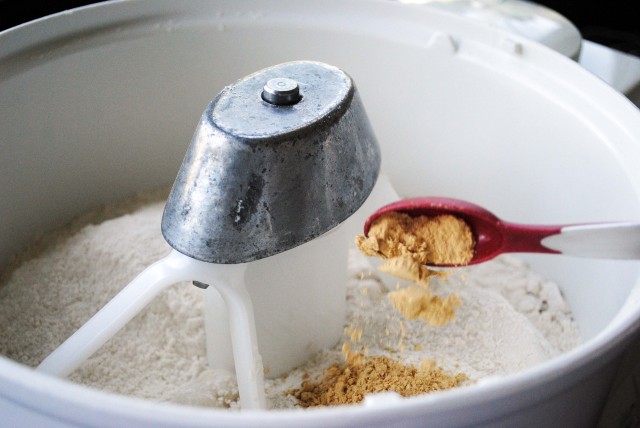 Now plop in the ginger. It’s good.
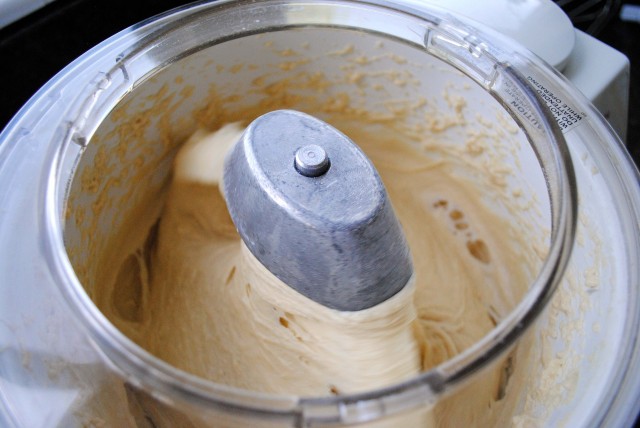 With the paddle attachment(s) for your style of mixer, get things all mixed up. Knead for about 5 minutes. Look how this dough is coming together already. I’m telling you, this is truly the best bread or roll dough with which I have ever worked. It must be the coconut oil!
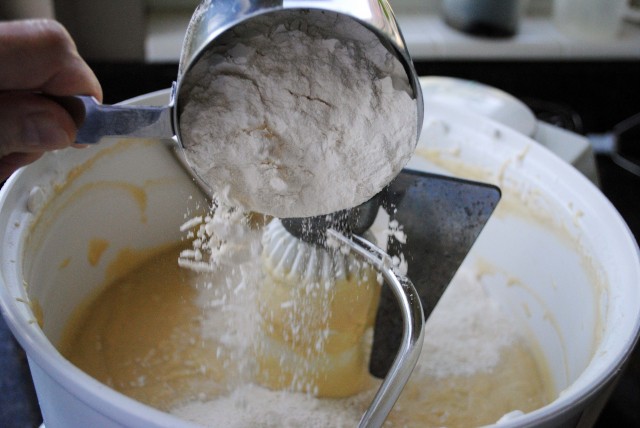 Switch to the dough hook. Time for some more flour. Add about 1 cup.
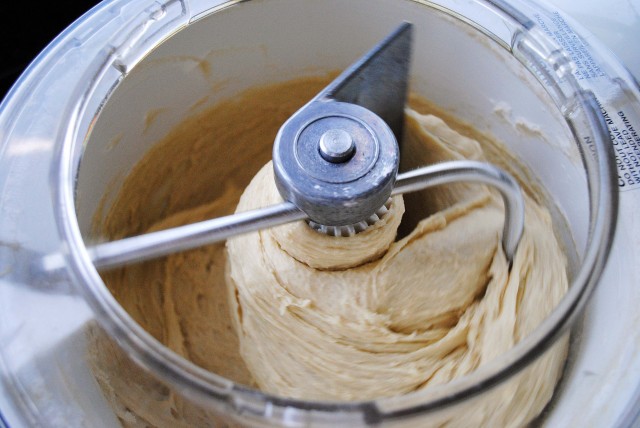 Turn on the mixer and start kneading the dough.
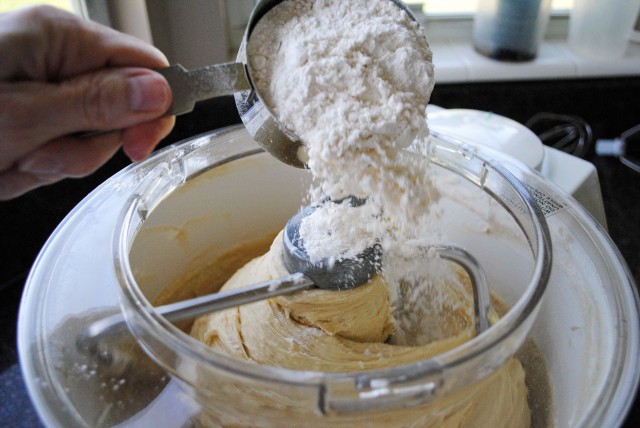 With the mixer running, continue adding flour, sprinkling it in 1/2 cup at a time, just until the dough comes together and leaves the side of the bowl. Once this happens, STOP adding flour!
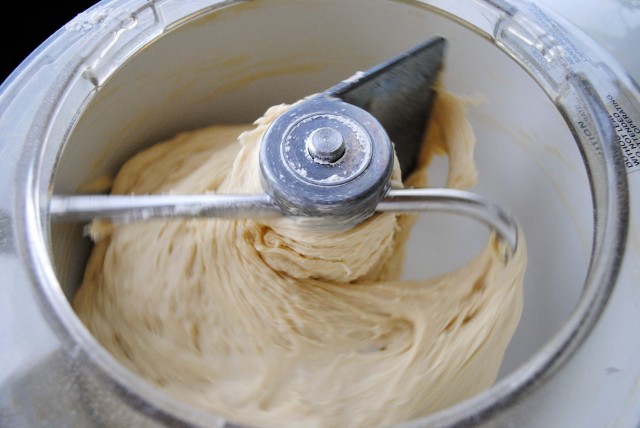 See how the dough is not sticking to the sides of the bowl? It’s okay to have small a bit of dough that doesn’t join the party. There are always wall clingers at every party. You can scoop them off the sides at the end of the kneading. Knead the dough in the bowl for 7 minutes until….
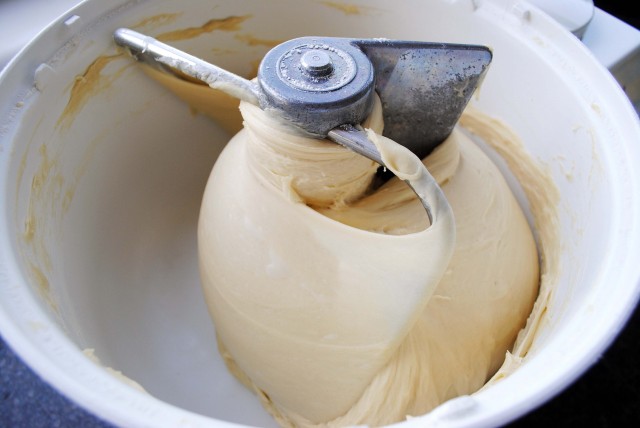 You get a masterpiece that looks like dough satin—-or silk—-or satiny silky perfection. I LOVE this dough! It is amazing to handle it. This picture is with the machine turned off, by the way. See how the dough sheets? And look at those bubbles just beneath the dough surface!
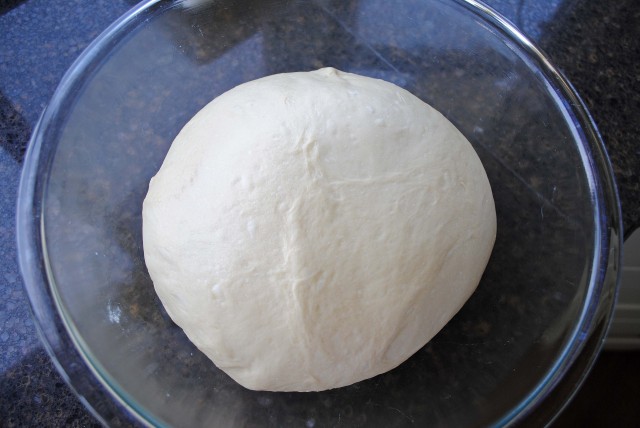 Gather the dough into a ball. Place it in an oiled or greased bowl and turn the dough over once. The dough will have collected some of the oil off of the bowl and will have a lightly oiled surface. This helps to keep the dough from drying out while it rises.
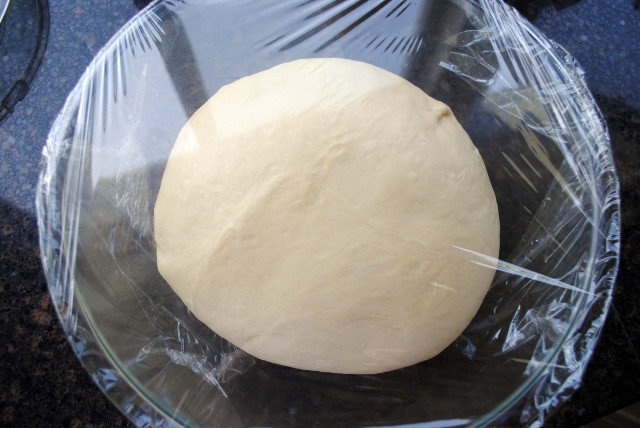 Cover the bowl with plastic wrap and put it in a warm place to rise. I like to turn on my oven for a minute or two, just until the temperature is about 100 degrees F, then turn it back off and leave the oven light turned on. I then put the bowl of dough in the warm oven to rise. Leaving the oven light on helps to keep the oven warm. Allow the dough to rise until it is double in bulk.
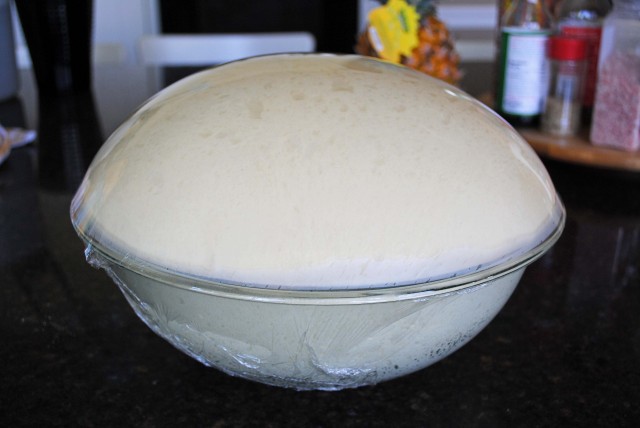 This rose a good deal more than double. Try not to let this happen because the yeast can become exhausted (all used up) and not rise well when formed into rolls. However, the brand of yeast that I use (SAF instant yeast) is an excellent yeast and had plenty of umpf left to raise the rolls. Whew!
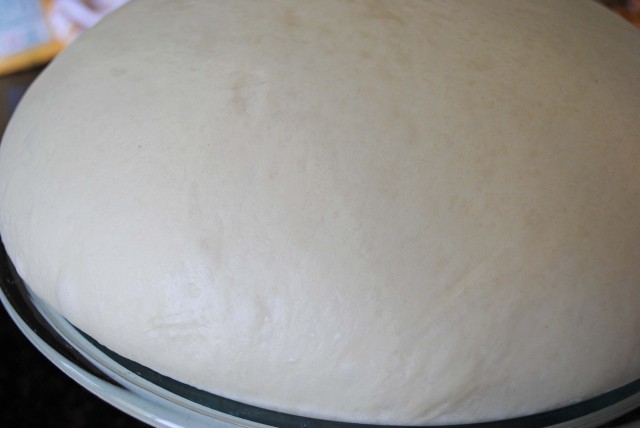 This is another shot of the dough after I removed the plastic wrap. Generally speaking, when I remove the plastic wrap off of other doughs they will start to collapse. Not this dough. It hung out all happy and glorious.
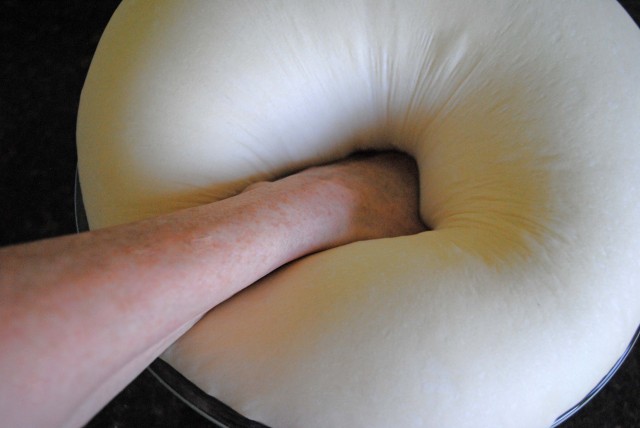 Punch the dough down. Usually a good punch will instantly deflate the dough; not with this dough. I punched it and it just sat there with my fist in the middle of it and its sides still all puffy and proud, sort of like it was laughing at me like a jolly Buddha.
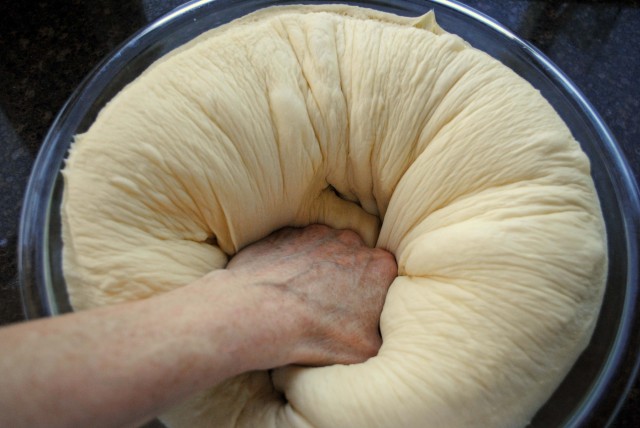 I kept working the dough, punching and squeezing until I finally got it somewhat deflated. I finally resorted to gathering it into a ball (sort of) and tossing it against the counter a few times and then kneading it. I felt guilty at having to work this joyful dough so hard. Honestly, I have never worked with such a resilient dough. What a good self image this stuff had. Gather the dough back into a ball, cover it, and allow it to rest for 5-10 minutes. You might need to take a rest, too.
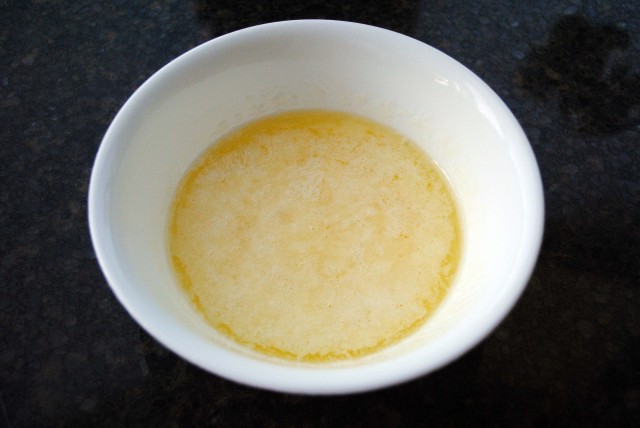 Once both you and the dough have rested for a few minutes, melt some butter (1 stick) and place in a bowl near your work area.
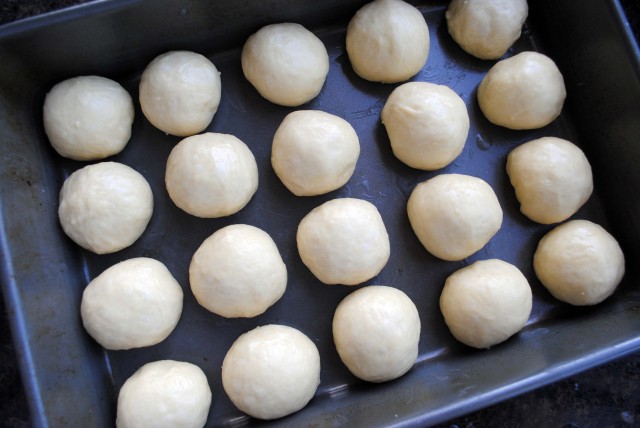 Working with half of the dough at a time, divide each half into 20 equal-sized pieces. I have just enough OCD left over from my early youth to have used my kitchen scale for weighing each roll so that I was sure to get them equally sized. If you are a free spirit who doesn’t need to weigh and measure, congratulations. Live long and prosper. Form each piece of dough into a ball, dip in the melted butter, and place in the prepared pan. For some tutorial pics on forming this type of roll, see My “Sunday Best” Rolls tutorial.
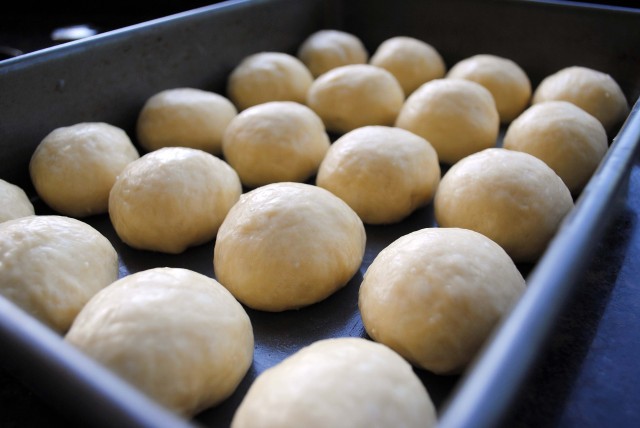 Aaaaaaand another shot of these exciting rolls before rising and baking.
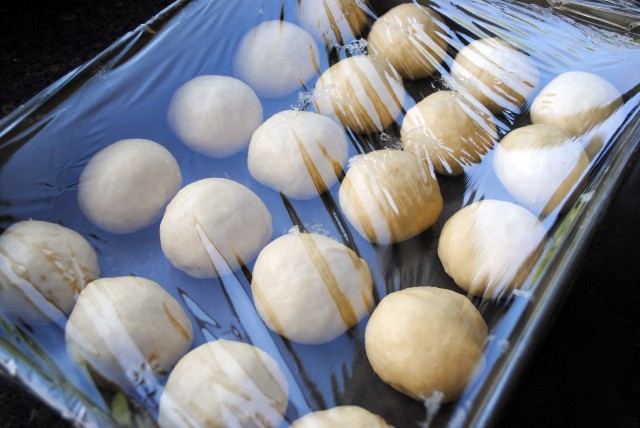 Cover the rolls loosely with plastic wrap. Return them to a warm place to rise until almost double in bulk. If you choose to put them in a softly warmed oven, be sure to remove them from the oven and remove the plastic wrap prior to baking.
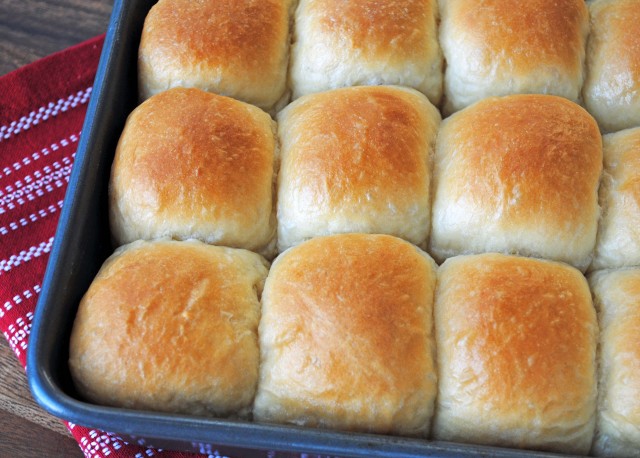
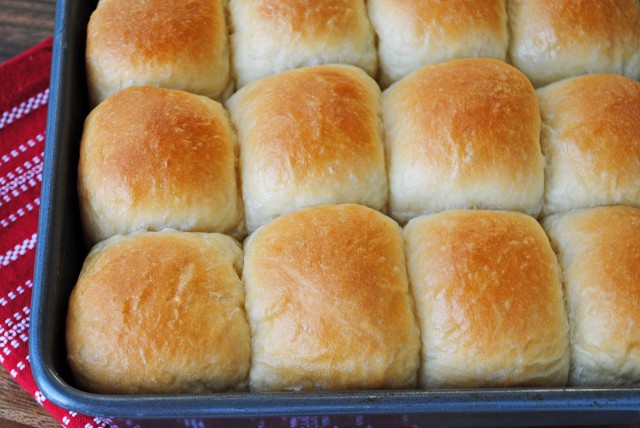 Preheat the oven to 350-degree F. Put the rolls in the oven (remember to remove the plastic wrap!!!!) and immediately turn the oven down to 325-degrees F. Bake for about 30 minutes or until golden brown. Take them out of the oven, snap a couple of quick shots of them, and move out of the way or else the track team will run over you trying to get to the rolls. Sure wish I had a smell-a-blog app so that you could be going crazy right now.
For an in-depth tutorial on homemade bread, see my 100% Whole Wheat Bread recipe.
Paradise Dinner Rolls
Ingredients
- 2 tablespoons yeast or 3 packages of yeast
- 1 cup warm water
- 1¼ cups pineapple juice
- ½ cup virgin coconut oil, barely melted (about 15 seconds in the microwave at 100% power)
- ½ cup honey
- 2 eggs
- 1½ teaspoons salt
- 1 teaspoon ginger
- 7-8 cups bread flour (I highly recommend using a good quality bread flour.)
- 1 stick butter, 1/2 cup, melted This will be used after forming the dough into rolls.
Instructions
- Proof the yeast in the 1 cup of warm water (about 110-degrees F) and a pinch of sugar. This should take about 5-10 minutes for the yeast to get all nice and bubbly.
- While the yeast is proofing add to the bowl of a stand mixer or other heavy duty mixer such as a Kitchen Aid or Bosch, the pineapple juice, coconut oil, honey, eggs, salt, ginger and then the proofed yeast.
- Add 4 cups of the flour to the above ingredients and with the paddle attachment, beat the ingredients on medium speed for 5 minutes.
- Remove paddle and attach bread hook. Add 2 cups flour to the mixture in the bowl and mix on medium speed until ingredients are well blended.
- With the mixer running, add additional flour, ½ cup at a time until the dough is starts to leave the sides of the bowl. Please see Note below
- Allow the mixer to run at the manufacturers recommended kneading speed for 7 minutes or until the dough is smooth and elastic.
- Lightly oil a large bowl with cooking oil. Gather the dough into a smooth ball. Place it in the bowl and turn the dough over once so that the surface of the dough picks up a light coating of oil. Cover bowl with plastic wrap and place in a warm area to allow the dough to rise. I often barely heat my oven to about 100°F or a little less, turn it off, leave the light on, and place the bowl of dough in the warm oven.
- Allow the dough to rise until double in bulk. Punch down and knead the dough to deflate it and redistribute all of the good yeasty stuff. Let rest, covered, for 5-10 minutes. While dough is resting, butter two 9- x 13-inch pans. Set aside.
- Form the dough into 40 rolls, 20 rolls per pan. Dip each roll into the melted butter and place in pans - 4 rolls across and 5 rolls down. Cover the pans lightly with plastic wrap and return to warm oven or other warm place to rise. Allow rolls to rise for approximately 40 minutes or until nearly double in bulk. They will rise more during baking.
- If rolls are rising in the oven, remove them prior to heating the oven for baking. Heat the oven to 350-degrees F. Remove plastic wrap and place rolls in oven. Immediately turn the oven down to 325-degrees F. Bake rolls until golden brown, about 30 minutes. Remove rolls from oven. Allow to cool in pan for about 10 minutes. Serve.
Notes
You may also like:


I loved those pictures of you punching the dough. Bread making is always something I am in awe of… you make it look so easy.
  These rolls look incredible.
Thanks, Ramona. Making yeast bread is scary at first. Just consider your first few attempts as a “learning investment.” I have a couple of recipes on this site which are good starter recipes for learning to handle yeast and doughs. I would suggest trying pizza dough or these No-Knead Dinner rolls. Both of these recipes are forgiving; the pizza dough because there are so many other good things going on on top of the pizza and the dinner rolls because they taste so darn good even if there is a bit too much flour!
I have to tell you Terri, you dough making skills are FABULOUS!!! YAY YOU!!
Your dough looks beautiful!!!
Thanks for the tip on sugar to the yeast, I never heard of that. I will be doing that in the future.
I do have to watch my baking sometimes because of our high altitude here.
I have used honey in place of sugar sometimes and I am always pleased with the results.
I also wish I had a ‘smell-a-vision’ app………LOL!!
Have a nice day!
Thank you, Dalila. A little pinch of sugar gives the yeast something on which to feed and assists in activating it. I have to agree with you on using honey instead of sugar in yeast breads. It helps to make a more moist and tender loaf, which is especially nice in a high desert environment like mine where breads and yeast dough loses moisture fast!
All of my yeast dough recipes are geared to altitude. I found an article, How to Adjust Bread Recipes for High Altitude, this afternoon. It has some good tips.
Thank you, I will check it out.
TINA (leahtbug)!!!!! I hope that you see this. I found your question in the previous post and answered it there.
This looks great! I’ll have to try it soon. Have you tried any recipes with Quinoa?
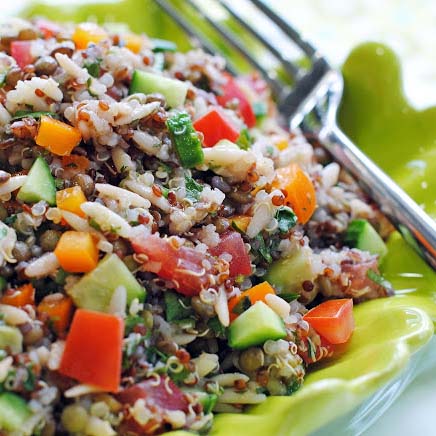
I cook with it at home, often in place of rice. However, the only recipe for quinoa that I have posted here is for an excellent Lentil, Quinoa, Orzo Salad. It is one of my favorite salads and loaded with nutrition.
I love eating Hawaiian rolls and growing up we always had them with my mom’s spinach dip during the holidays. I am so glad to have this homemade version to try this year!
Hawaiian rolls and spinach dip sound great together. What a nice holiday memory for you! I hope that you will enjoy making these. I truly believe that it is the nicest dough I have ever used, like handling silk.
Your printable does not specify when to add in the yeast mixture. Novice bread makers may realize they didn’t add till too late, hence wasting a lot of ingredients. (Ahh hem)
But love your recipes.
Hmmm…curses. I’m sorry about that. One of my greatest fears as a blogger has been realized. I apologize sincerely.
My only comfort is that I did get it right in the step-by-step tutorial. I’m checking all of my other yeast bread/roll recipes to make sure that I have written them correctly.
For future baking adventures, proofed yeast goes in with the other liquid ingredients. There are recipes (none on this blog) which call for the dry yeast to be mixed in with the flour and then warm water or milk are added to the flour & yeast mixture. Some folks swear by this method, but I haven’t always had success with it, so I proof my yeast before adding it to the other ingredients.
Once again, Kimberly, I apologize for the error and waste of ingredients which occurred as a consequence.
Hi Terri,
I haven’t found the perfect recipe for king hawaiian sweet rolls yet. Glad I found yours. Your bread looks awesome! Can’t wait to try.
One question for you. I do not have a kitchen aid type of mixer but I have bread machine and hand mixer.
Would you mind to give some tips on how to do it over the bread machine? typically, I always start with liquid ingredients, then add egg, sugar and salts and last I add flour and instant yeast on top. Should I also proof the yeast first? should I seperate the process using hand mixer before adding the dough mixture to bread machine?
I also need to adjust the ingredient to half due to limited capacity of the bread machine. is it as simple as divide into half of each items?
I appreciate it.