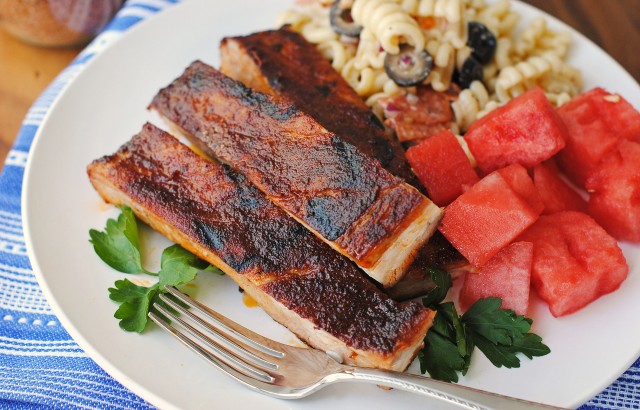
This dry rub baths pork ribs in smoky goodness long before they hit the grill or the oven. Be sure to use Kosher salt for the perfect flavor balance.
It’s grilling season, right? At least in most places in North America, it’s grilling season. My husband is usually the grill master, but once in a while I hitch up my britches and wrangle The Beast. We keep it leashed outside on the patio— otherwise known as “the cement next to the house”. Not to be confused with the large cement rectangle located farther from the house that some people would call a “sports court”, but which we often call “the big cement pad out back”. In all honesty, I think that The Beast ought to be out there rather so close to the house; gas grills make me nervous.
Soooooo, what if you don’t have a grill? Or what if it is actually the middle of winter where you live and you want some barbecue and your grill is under a foot or more of snow? Or what if it’s 100 degrees outside, the sun is beating down on you, there’s no breeze at all, and the idea of firing up the grill seems ridiculously inhumane? Or what if you don’t trust your grill skills?
Silly you. Cook the ribs in the oven. Relax, put your feet up, take a nap, or watch Jeremy Wade’s River Monsters.
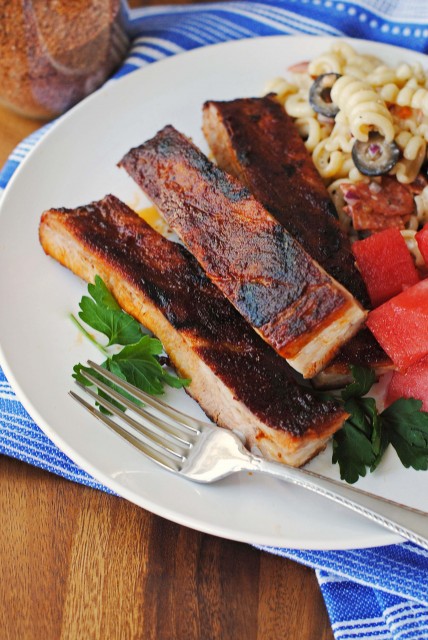
Periodically, winter or summer, we get hungry for barbecued ribs at my house. Sometimes it works out that we can cook them outside on the grill and sometimes we cook them inside in the oven. It all depends on planetary alignment and phases of the moon and other stuff that has absolutely nothing to do with cosmic phenomena.
Personally, I find cooking outside in 100 degree heat, with nothing for shade, quite unappealing (my all time most favorite shade tree died and we don’t have an awning). I just can’t bring myself to do it. On the other hand, I will cheerfully pop some ribs in the oven, especially with some great smoky seasonings on them.
Father’s Day warranted me wrangling ribs on the grill. I totally rocked it, by the way. Nyuck, nyuck, nyuuuuck. I even put together a wonderful smoky rub, which has turned out to be a definite keeper.
Many years ago a man who was standing near me at the meat counter took it upon himself to give me some very helpful instructions about cooking ribs on the barbecue. He said to start them in the oven, cook them on low heat until “they are about 80% done”, and then finish them off on the grill. He said that the same thing goes for chicken. My husband and I have dutifully followed his advice through the years, although I have to admit that the “80% done” instructions were a bit ambiguous. Of course, if you are not going to be using the grill, then cook the meat “all the way” in the oven.
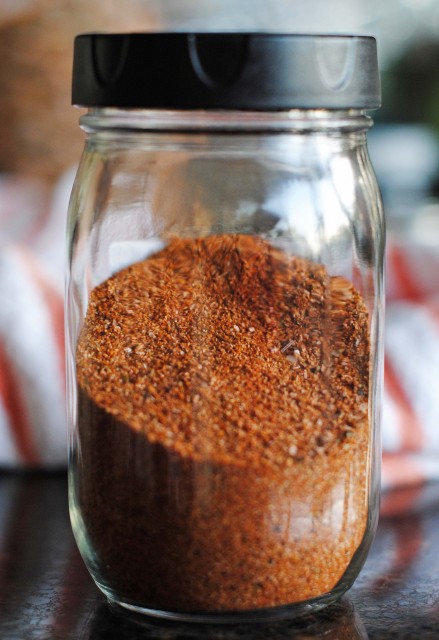
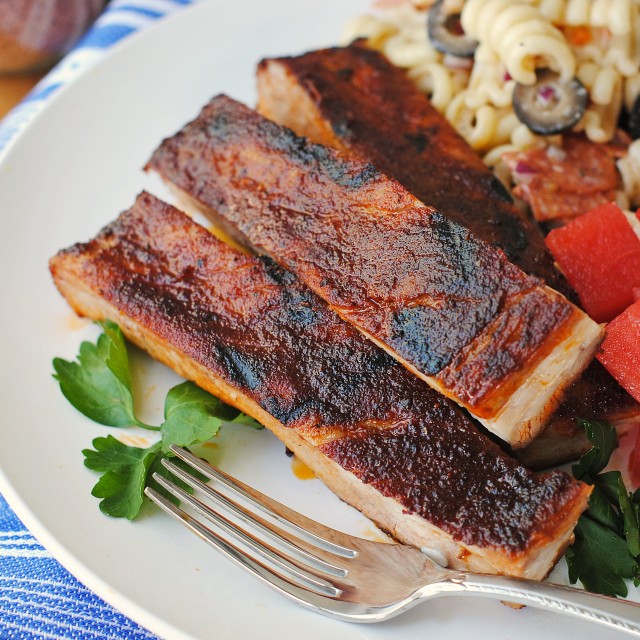
For best flavor, I highly recommend that the ribs spend the night in the fridge bathed in this rub. When ready to cook, sprinkle the ribs with more of the rub. “Low and slow” is a phrase that is often used with smoking or grilling, and I have found that it is very sound advice for successful oven preparation of pork ribs. The meat turns out succulent and tender. ***Again, please note: You will probably NOT be using all of the rub. Save the rest in a sealed jar for the next time you make some ribs.***
Update 10/30/2013: A pinner stated that this rub is too salty and that she would cut the salt content by half, at least. I have not had a problem with the salt content, nor have members of my family. However, tastes vary. The amount of salt included in the rub mix is relatively standard. The recipe makes more rub than you will need for a rack of ribs. So, don’t use the whole thing on one rack, okay? Use your good judgement.
Update 1/26/15: As per the “too salty” issue, a reader, Petra, left an excellent point about the type of salt used. This recipe states to use “Kosher salt“. Kosher salt has a different structure than does standard table salt. Table salt has smaller crystals and is more dense. It has a saltier flavor than does an equal amount of kosher salt. Here is what Petra had to say: “About the salt: If one is NOT using kosher salt, then the amount of regular salt should be cut in half. Regular salt is finer than kosher and, therefore, it will more densely fill the measuring cup. For 1/3 cup kosher you would only use 8 teaspoons of regular salt or 2 Tablespoons plus 2 teaspoons.
Here is additional information about Kosher salt. Some salts are marked as being kosher, this does not make them Kosher Salt. True, they are salts and they pass kosher standards, but they are not Kosher Salt. Kosher Salt is a different salt. It is lighter than table salt (whether or not the table salt has been marked as being kosher.) Kosher salt is not difficult to find. It is located in the same area of the grocery store as other types of salt. Here are a couple of brands of Kosher Salt and also a picture which will take you to a tutorial on the differences between Kosher Salt and other types of salt.
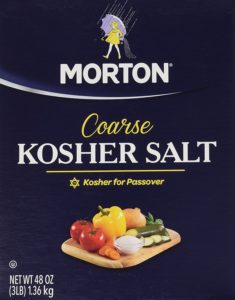
Morton brand Kosher Salt
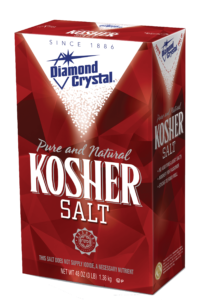
Diamond Crystal brand Kosher Salt
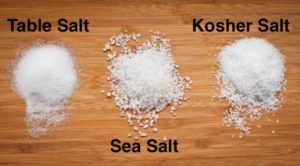
Click the pic. It will take you to a tutorial at Enkimd regarding the differences between Kosher Salt and other types of salt.
Dry Rub for Pork Ribs
 If you choose to use the whole amount of rub on one rack of ribs, get ready to pucker up. Mouths are not made to be brined. However, mouths ARE made to enjoy the beautiful sweet, smoky, and yes, salty, flavor combination in this rub.
Attn: Please see "Notes" at end of recipe for an important discussion of Kosher salt vs. table salt.
 Ingredients
- 1/3 cup Kosher salt or 2 tablespoons plus 2 teaspoons regular table salt see notes
- 2 tablespoons brown sugar
- 2 tablespoons white granulated sugar
- 2 tablespoons smoked paprika
- 1 tablespoon ancho chile powder
- 2 teaspoons granulated onion
- 2 teaspoons granulated garlic
- 1 teaspoon chipotle chile powder
- 1 teaspoon black pepper
- 1/2 teaspoon ground allspice
- 1/2 teaspoon dry mustard
- up to 5 pounds pork ribs
Instructions
- Mix all of the ingredients together (except the ribs) until well blended. The brown sugar has a tendency to clump. Break up clumps by rubbing them between your fingers or break them up by pressing them with the back of a spoon against the side of the bowl.
- Sprinkle the ribs generously with the rub. Press the rub firmly into the meat. Cover ribs with plastic wrap or put them in a large plastic bag, press out the air, and tie closed. Place in refrigerator overnight or for at least 8 hours.
- Cover the remaining rub in an airtight container or seal in a plastic bag. (I store mine in a jar.)
- Remove ribs from refrigerator about 30 minutes before cooking and allow to come to room temperature.
- Preheat oven to 275 degrees F.
- Line baking pan(s) with foil. Set aside. Unwrap ribs, place bone side down on baking pans and again sprinkle generously with rub.
If Cooking Completely in the Oven:
- Bake, uncovered, for 1 1/2 hours. If using more than one pan, rotate pan positions after the first hour of cooking.
- Remove ribs from oven. Turn oven to broil. Set oven rack 5-7 inches below broiler. If using barbecue sauce, apply the sauce prior to broiling. Return ribs to oven. Broil on each side just until some of the rub (or sauce, if using) begins to caramelize. Remove ribs from oven and allow to rest for 5-10 minutes before cutting into individual portions.
If Starting Indoors in Oven and Then Grilling Outside:
- Bake uncovered for 1 1/2 hours, rotating pans half way through the baking process if using more than one pan of ribs.
- Remove from oven. Heat outdoor grill to hot.
- If using barbecue sauce, apply it before grilling. Place ribs on grill, cook 5-7 minutes on each side; just enough to get a bit of caramelization in a few spots.
- Remove ribs from grill and allow to sit for 5-10 minutes prior to cutting into portion sizes.
- Store any leftover rub in an airtight container.
Notes
- Kosher salt vs. Table salt. A reader, Petra, left the following information in the comments for the this blog post: About the salt: If one is NOT using kosher salt, then the amount of regular salt should be cut in half. Regular salt is finer than kosher and, therefore, it will more densely fill the measuring cup. For 1/3 cup kosher you would only use 8 teaspoons of regular salt or 2 Tablespoons plus 2 teaspoons. I have updated the ingredient list to reflect this change.
- For best flavor development, it is important to season the ribs and allow them sit, covered, in the refrigerator for at least 8 hours and up to 24 hours prior to baking.
- If your oven has a convection feature, convect bake at 250 degrees F for 1 1/2 hours.
- If using a barbecue sauce with the dry rub, add the sauce prior to putting the ribs under the broiler or placing them on the grill.
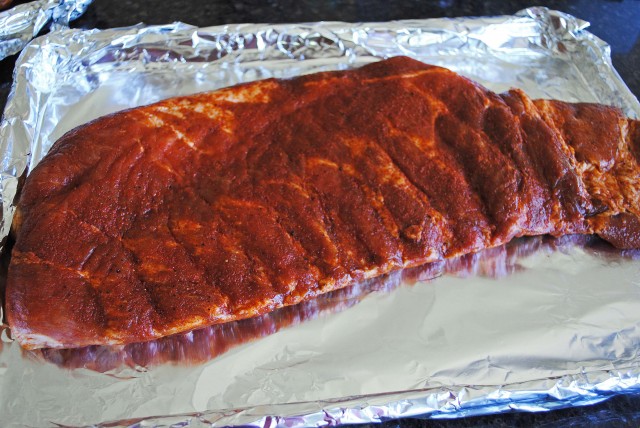 Sprinkle the rub generously all over the ribs on both sides. Press the rub into the meat. It doesn’t require much pressure; just a simple “pat”.
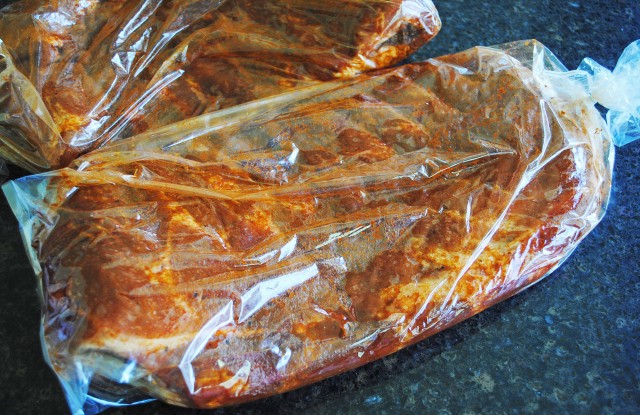 Wrap the ribs in plastic wrap or store in a large plastic bags. I use long bread bags that I purchase at a local store. They are great for storing more than just homemade bread, although they are a perfect size for homemade bread such as French Bread or 100% Whole Wheat Bread. Store the ribs in the refrigerator for at least 8 hours and up to 24 hours. If you are in a hurry, I suppose that you could get by with only letting the ribs sit for an hour, but I really must tell you that they are infinitely better when allowed to hang out with the rub for the recommended amount of time.
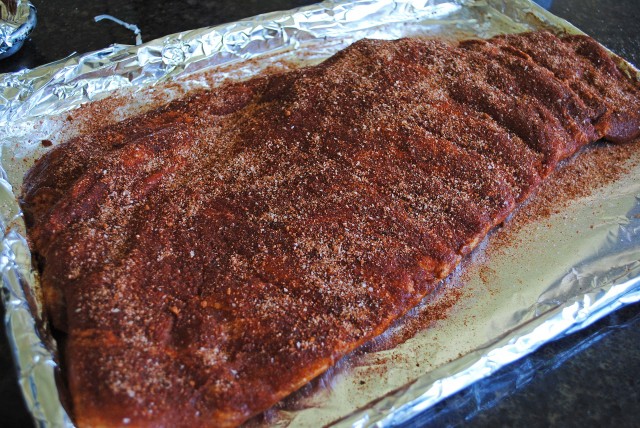 The next day, take the ribs out of the refrigerator about 30 minutes before cooking time so that the meat can come to room temperature. Leave the ribs wrapped during this time. When ready to cook, put the ribs on a foiled lined shallow baking pan. Sprinkle generously with more rub on both sides of the ribs. No need to rub or press.
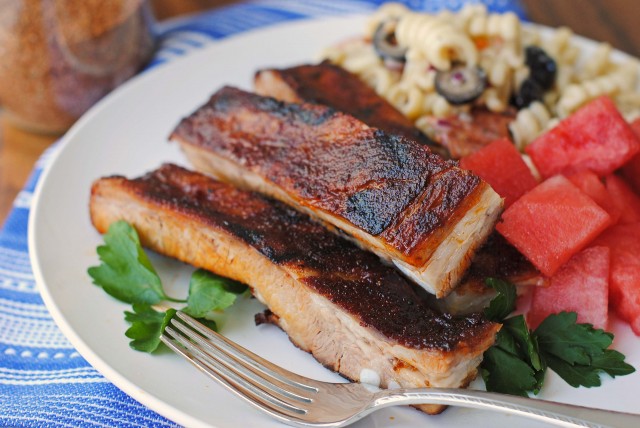
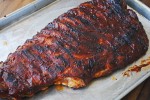
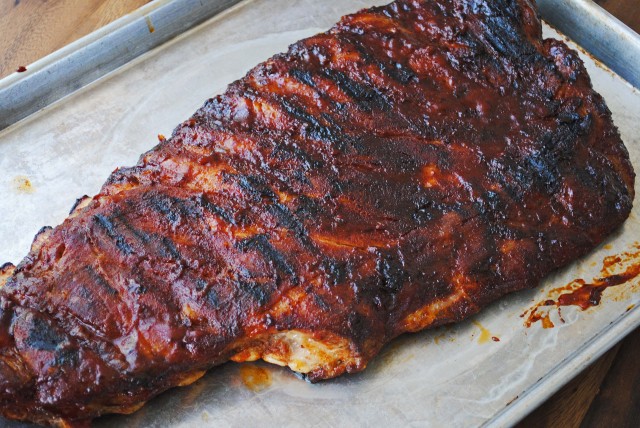 After baking and a quick visit to the grill (or a few sizzling moments under the broiler) the ribs will be all tantalizingly beautiful. Let them them rest for 5-10 minutes so that the juices can redistribute. Slice into individual ribs for serving. Ring the dinner bell and get out of the way.
/



I like your dry rub recipe, I will be using it. One can never have too many dry rub recipes.
We use our grill quite a bit, we switched from charcoal to gas, much easier for me.
We also enjoy smoking our meats, our smoker has a great seasoned inside, smells awesome when we use it. You name it and I will try it out in the smoker, of course hubby is my guy for rescue time. I once did go crazy with the wood! Sheesh!!
I like your idea of using plastic bread bags, I just wrap our ribs in foil. Thanks!
I’m jealous that you have a smoker! I definitely want one of those.
PS–Did you get my email in answer to the one that you sent me?
Yes, thank you! I have been on the lookout for the attachment. Crossing my fingers for luck! LOL!! I can use it with my kitchen adventures. Burnt food, cut finger tips, dropped eggs, etc….LOL!! The joys of cooking.
Have a nice day!
I don’t own a outdoor grill.. so these ribs done in the oven are perfect for me. My son loves ribs… and he will go crazy for these. Fantastic rub.
I’m all in for the paprika and chilli but personally I would go for honey instead of sugar and brown sugar.
And whenever I grill, I am trying to stuff some veges as well, makes the juices more rich
Honey, along with some of the spices in this rub, could make a beautiful glaze, barbecue sauce, or dipping sauce. However, since this is a dry rub, it’s function is different from that of a sauce, mop, glaze, or dip. It is delicious when used in conjunction with barbecue sauce and certainly a honey based sauce would be a good choice. Additionally a more vinegary sauce works very well, too. We used a bottled sauce, Stubbs original, in addition to this dry rub and LOVED the outcome. Then again, we LOVED the outcome with just the dry rub, too.
Used your rub on ribs over the Holiday weekend, and we loved it! We “marinated” the ribs for 24 hours, braised them in the oven, and finished them on the grill. I had never used smoked paprika before, where have I been?! This will be our go-to rub from now on. Delicious, Terri!
Karla, thank you so much for letting me know that you enjoyed this dry rub. I’m glad that it was a part of your 4th!
About the salt: If one is NOT using kosher salt, then the amount of regular salt should be cut in half. Regular salt is finer than kosher and, therefore, it will more densely fill the measuring cup. For 1/3 cup kosher you would only use 8 teaspoons of regular salt or 2 Tablespoons plus 2 teaspoons.
Hi Petra. Thanks so much for the reminder about kosher salt vs. table salt. I have to confess that it never occurred to me to emphasize the difference between kosher salt and table salt. I have added your information to the recipe and also made a note of it in the blog post, itself. ~Terri
the salt thing can be much simpler: measure it by weight and not volume. As Petra points out, because kosher salt is so coarse, it does not “pack” as tightly by volume, so it will essentially weigh less, by volume, than a finer grade of salt will. Posting ingredients by weight is not just for baking, it works better for everything. I hope Americans (I am one by the way) will some day adopt this approach
You are absolutely correct. I need to revisit the recipe and add the weights for the ingredients.