Have you ever had ‘one of those weeks’? Yeah, me too. This week.
So, luckily, blogger let’s you back-post–which I am doing. Today is actually Saturday 8/20/11 and for this post I am pretending that it is Wednesday 8/17/11. In the next post I’ll pretend that it is Thursday 8/18/11 and in the one after that it will be Friday 8/19/11.
Tuesdays are our CSA days and this week we got corn on the cob, green beans, lots of summer squash, cucumbers, chile peppers, purple bell peppers, and carrots. It was a nice little variety, yet still no tomatoes. I have 16 tomato plants in my back and have yet to pick a tomato. Oh wait, I lied. We have picked three red cherry tomatoes. Luckily good ole Costco has some nice tomatoes. They’re not quite as good as fresh off the vine, but they are better than those carried by my local grocery stores.
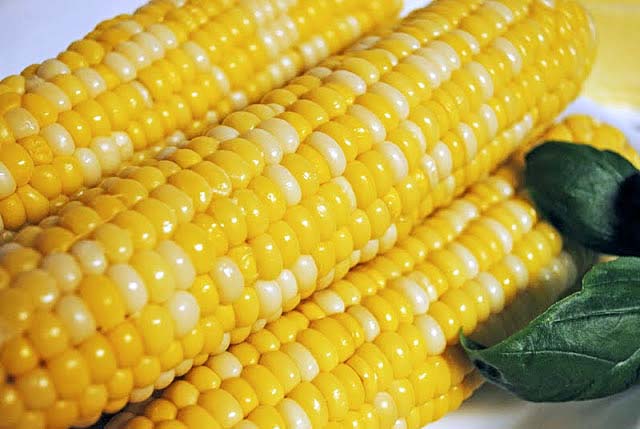
But this post is not about tomatoes, it is about corn. I know that grilling corn is all the rage right now, and I have a recipe for it right here on this very blog. However, for anyone who wants the old fashioned style of corn on the cob cooked in a pot of boiling water, I have a method for you that produces perfect corn every time.
Here are some rules:
- Choose fresh, unhusked corn. Corn with the husks removed, such as the ones often found prepackaged at the grocery store, are frequently past their prime. The sugars in the kernels will have turned to starch, making the corn gummy to the bite after cooking. If possible, buy your corn from a local farmer and buy only corn that you are allowed to choose for yourself. Ask when the corn was picked and how it was stored after picking. For personal preference, I do not buy any corn that was picked more than 1 day ago. It needs to have been under refrigeration during the time between picking and selling. Of course the farmer needs time to get the corn from the field to the refrigeration unit, but if the corn has been properly stored overnight, it will still be in great shape for cooking.
- The husks should be a bright green and fit snugly around the corn cob. Take a sniff. Does that cob of corn smell fresh? Really fresh, as if earth and sky and water and sweet corn sugars are tugging at your senses? If so, move on to step three, otherwise put the corn down.
- Pull back a small area of husks to expose some of the corn kernels. The kernels should be plump, smooth, and closely packed together. Use your thumbnail to puncture one of the kernels. If the corn is very fresh, there will be a little ‘pop’ when your fingernail pierces the kernel. The corn juice will squirt out. If there is more of an ooze instead of an active squirt and the fluid seems a bit thick instead of thin, pull the husk back up over the corn, put the corn down and move on. That cob of corn is past it’s prime.
- Once you find those perfect ears of corn and bring them home, keep them refrigerated until ready for use, preferably for use the day you bought them. Follow the directions below for cooking classic corn on the cob.
- As a side note: fresh, properly cooked corn will have a crisp pop when you bite into it. If the corn feels gummy and sticks to your teeth when you bite it, then one of three things has happened–either the corn is old or was improperly stored, or it was over-cooked.
Perfect Corn on the Cob
Recipe by Terri @ that’s some good cookin’
- x number of corn on the cob
- a pot big enough to cover the corn with water
- cool water
- 1-2 tablespoons sugar
Directions
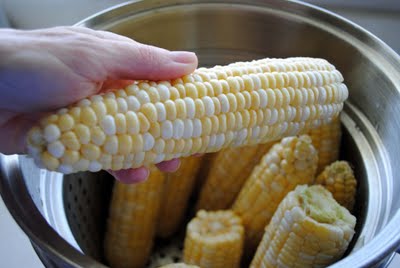
- Shuck the corn–this means to remove the husks and the silks. Some of the silks will have become wedged between the kernels of corn as the corn developed. Remove as much of these wedged silks as you can. My mother used to make us remove every single smidgeon of the silks. I don’t know if she was OCD about even the smallest bit of remaining silks or if tasking us kids with that chore was her way of keeping us busy and out of her hair for an extensively long amount of time.
- Sometimes, especially with organic farming, caterpillars will have helped themselves to the tops of the corn cob. If you find an area where the caterpillars have lived, simply break off the affected part. The rest of the corn is fine to eat.
- Give the corn a quick rinse just to remove any dirt or other forms of residue that may be resting on the corn.
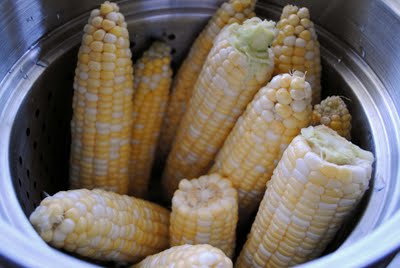
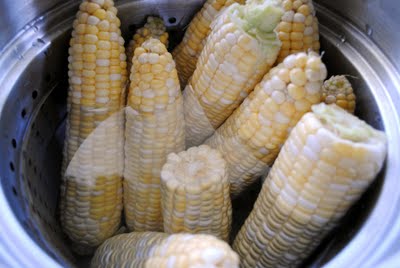
- Put the corn in a pot large enough to accommodate the corn plus enough water to cover the corn.
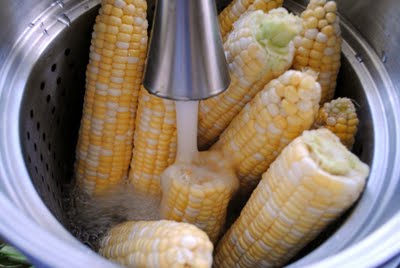
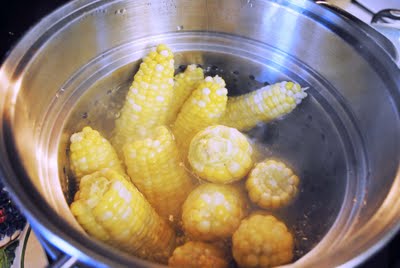
- Add cool water to the pot, enough to cover the corn. The pot that I use for my corn is a deep and I cook the corn on end. The pot that I used to use allowed me to place the corn on its side. Sometimes the corn is too long to fit the pot. No problem. Just break or cut off a small portion of the corn cob at the tapered end (top). The corn residing at the very top is usually tiny and is not eaten anyway.
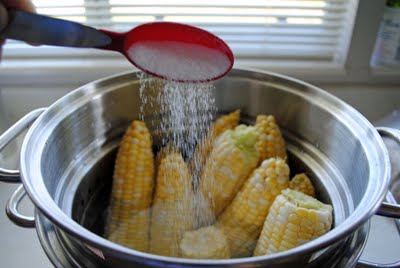
- Add two tablespoons of sugar to the water. There is no need to mix the sugar into the water. Just dump it in.
- Cover the pot and place over high heat. Bring the water to a boil and boil for two minutes. Turn off the heat and allow the corn to sit, undisturbed, in the hot water for ten minutes.
- With tongs, remove the hot corn from the water and serve with butter and salt. My husband’s family passes a stick of cold butter on a plate and everyone just rolls their cob of corn across the cube of butter. Excellent process, by the way. My family always used a knife to spread butter on the corn. This method is not nearly as effective because the butter often would fall off of the knife and would slip off of the corn before it could be spread over the entire ear of corn. Some people like to spread the corn with butter by using a pastry brush. Brushing on the softened butter also works very, very well, particularly if there have been other flavor elements added to the butter. Sprinkle with salt and pepper as desired.
- Serve with side of dental floss or toothpicks.



Leave a Reply