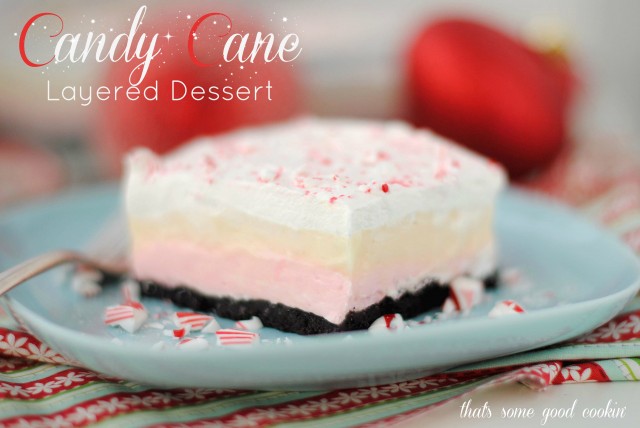
Early this past summer I started thinking about what kind of dessert I could make using candy canes. I knew that I wanted to use a favorite family recipe, Chocolate Delight, as the basis for the candy cane dessert, but I couldn’t figure out how to do it.
The one thing that I knew to be a very bad idea was to add mint extract to any part of the dessert. I have been exceptionally leery of peppermint extract ever since my freshman year in college. One of my roommates decided to make an angel food cake and then frosted it with peppermint flavored white frosting. Word to the wise: too much peppermint extract in white frosting = eating toothpaste on cake. Shudder!
Everybody has those ‘really bad idea’ cooking moments. If you cook at all, you have had at least one of them. I have had those moments on a regular basis since I started this blog. They are frustrating, deflating, humiliating, and embarrassing. (Insert dissonant Alfred Hitchcock movie music here.) But then, there are the “aha” moments and everything magically comes together. (Insert angelic choir music here.) This dessert falls into the angelic choir music category.
The key to making this recipe possible was a little trick I saw on a couple of other blogs: candy cane powder. (Funny, I almost typed iocane powder–you know, from The Princess Bride…go watch the movie.) Candy cane powder is simply pulverized candy canes. Break them into a few pieces, toss them in the food processor, and push the “on” button. When the serious noise stops and it sounds like sand hitting the side of the bowl instead of rocks, turn off the food processor and take a look inside. Surprise! Candy cane powder!
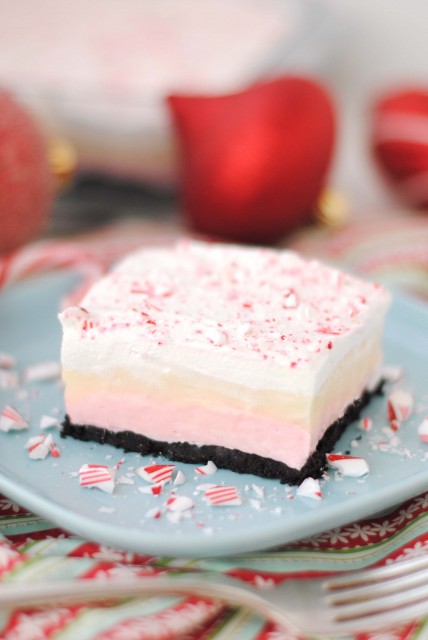
This is really a fun dessert. The base is made from finely crushed Oreos®, with the filling, plus some melted butter. The second layer has cream cheese, powdered sugar, that very fun candy cane powder, and Cool Whip®. The third is white chocolate pudding, followed by more Cool Whip®. To finish things off and make it look all pretty, various sprinkle choices are available. I chose crushed candy canes, but you can see some other ideas below in the tutorial.
Candy Cane Layered Dessert
Ingredients
For the crust:
- 30 chocolate wafer cookies with white cream filling such as Oreos
- 6 tablespoons butter
For the second layer:
- 1 (6 ounces) box, weight candy canes (12 per box) + additional candy canes if using as topping
- 8 ounces cream cheese, softened
- 1 cup powdered sugar
- 1 12 ounce container non-dairy whipped topping, divided (I used Cool Whip)
For the third layer:
- 2 (3.5 ounce) packages instant white chocolate pudding mix
- 3 cups milk
For the fourth layer:
- remaining non-dairy whipped topping (see second layer ingredients)
- topping of choice: seasonally colored jimmies, Andes Peppermint Crunch pieces, crushed candy cane pieces, other seasonally appropriate sprinkles
Instructions
For the Crust:
- Break up cookies (do not remove filling) and place in a food processor. Process until cookies are finely crushed.
- In a microwavable container, melt butter. With food processor running, slowly pour butter through food shoot. Process for 15 seconds until butter is well incorporated into cookie crumbs.
- To make the crust, press cookie crumbs in the bottom of a 9- x 13-inch baking dish. Cover dish and place in refrigerator until crust is thoroughly chilled, about 30 minutes.
For the 2nd layer.
- Open the box of candy canes and remove wrapping from each candy cane. Beak each candy cane into 4 or 5 pieces and place in the clean bowl of a food processor. Process until powdery. This should produce about 1 cup of candy cane powder.
- In a medium bowl, beat the cream cheese, powdered sugar, and candy cane powder until smooth.
- Fold in 1/2 of the non-dairy whipped topping (6 ounces, weight). Spread on chilled crust.
For the 3rd layer.
- In a large bowl, put the white chocolate pudding powder. Add the milk and whisk until thickened, about 2 minutes. Allow to stand for an additional 5 minutes. Spread evenly on top of the second layer.
- Cover and return to refrigerator for 30 minutes. This gives the pudding layer time to thicken.
For the fourth layer:
- Top with remaining whipped topping. Cover and return to refrigerator. Allow to chill for a minimum of 4 hours before serving. Can be made up to a day ahead and stored, covered, in the refrigerator.
- For serving, sprinkle with topping of choice and slice into desired size squares. Cover and store any remaining dessert in refrigerator.
To make candy cane pieces:
- Place several candy canes in a plastic zip-style bag. Break up candy canes by hitting them with a rolling pin. The pieces should be relatively small, otherwise they will bring too much "crunch" to the dessert.
Notes
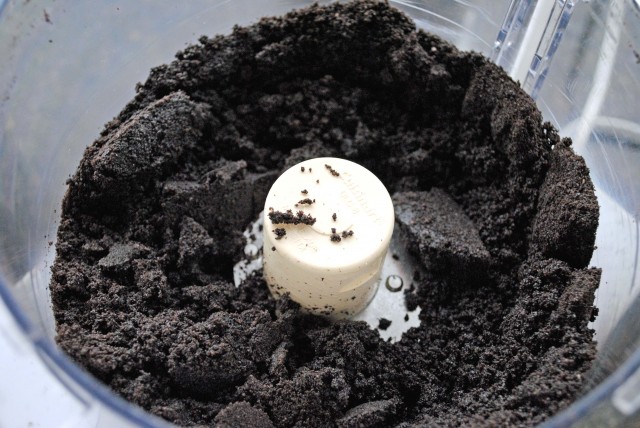 Break up 30 chocolate wafer cookies with the white filling (Oreo’s) in a food processor. When finished they should look like fine crumbs…no, actually, they should look like some seriously wonderful potting soil.
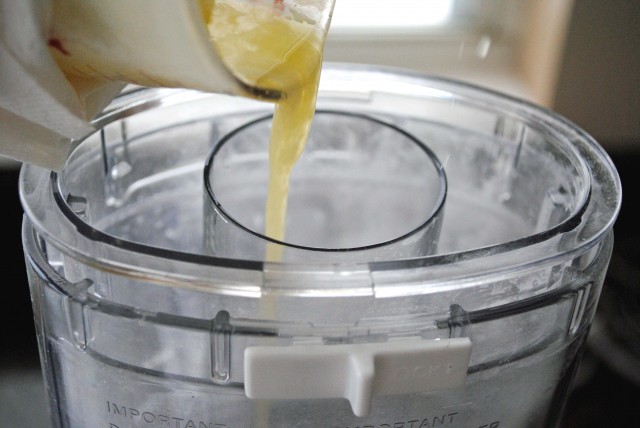 With the food processor running, slowly drizzle the melted butter in through the food shoot.
 Firmly press the cookie/butter mixture into the bottom of a 9- x 13-inch dish.
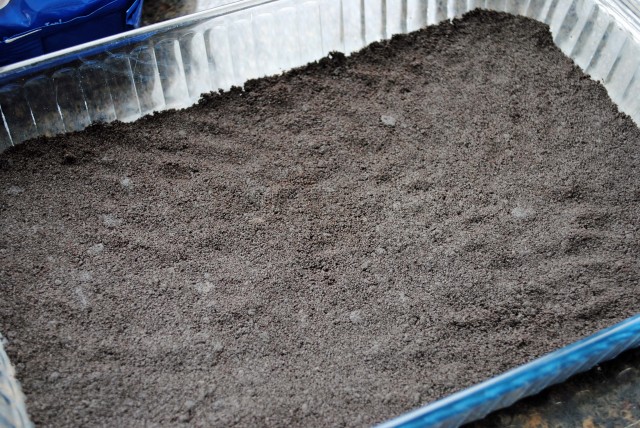 Seriously, doesn’t this look amazing already?
 My hands always look like this after I pot seeds for summer vegetables. You can clean your own hands however you wish after you get through pressing the crust into the dish. Licking is permitted…unless you are allergic to cocoa/chocolate like me. 🙁 Washing with soap and water is also acceptable.
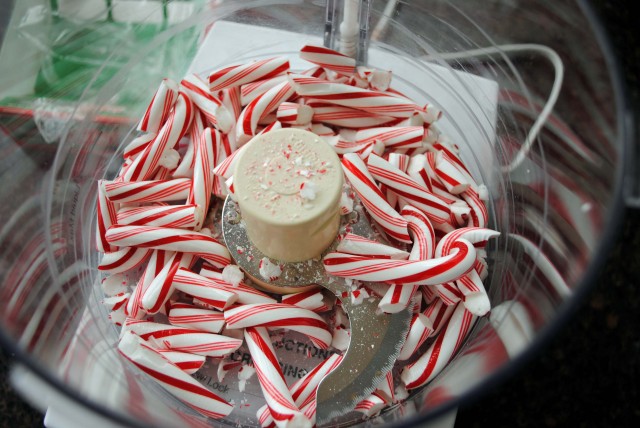 Be sure to take the paper off of the candy canes before breaking them and putting them into the food processor. When the processing begins, there is going to be a lot of noise. Get some earplugs.
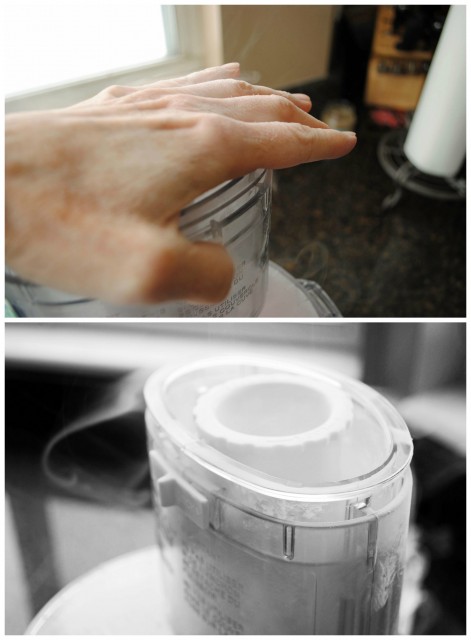 This is the coolest thing. While the candy canes are being pulverized, very fine candy cane powder seeps out of the food processor lid. It’s like candy cane mist. Dreamy.
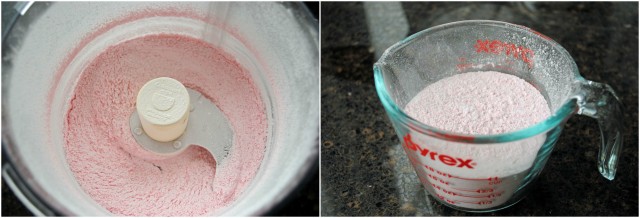 Behold the candy cane powder. Although somewhat grainy, it is wondrous! Six ounces (weight) of candy canes should make about 1 cup of candy cane powder.
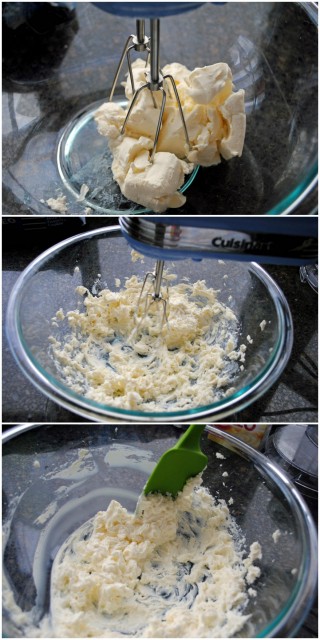 In a large bowl, beat the cream cheese until soft and smooth. Scrape the side of the bowl as necessary.
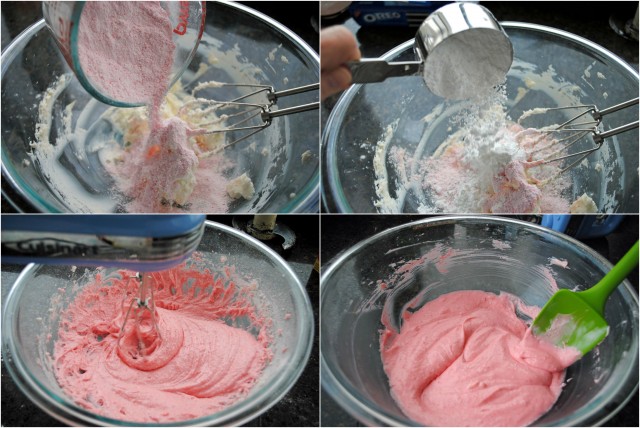 Add the candy cane powder and the powdered sugar to the cream cheese. Mix well until smooth and creamy. The mixture will be slightly grainy because of the candy cane powder. This will resolve as the completed dessert chills.
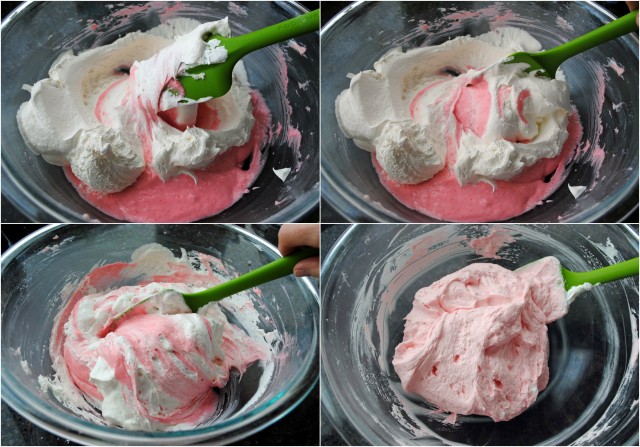 For the pièce de résistance, fold in the whipped topping. Use your best folding skills and you will be richly rewarded.
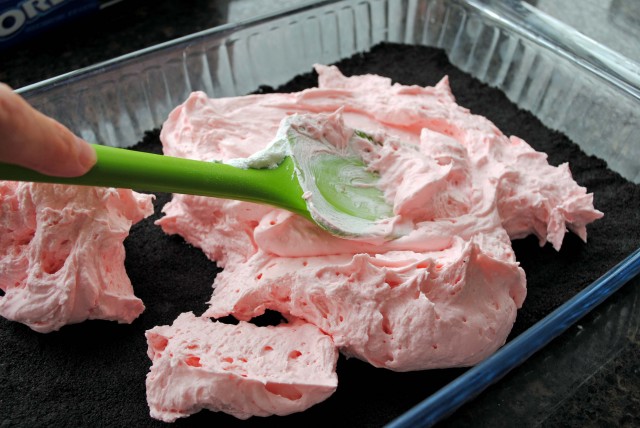 Yes, this tastes as wonderful as it looks. Spread the candy cane cream cheese mixture over the well chilled crust.
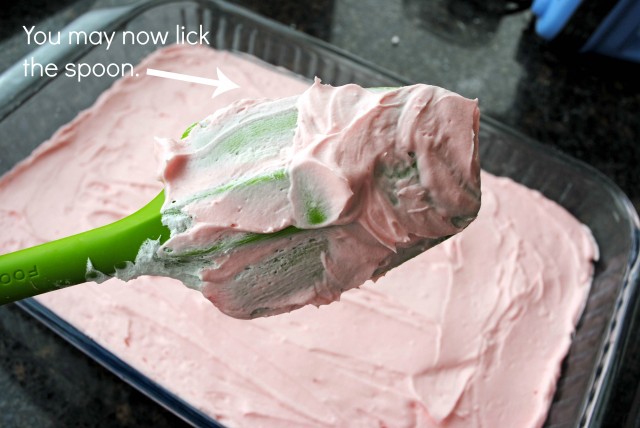 Time for a taste break. Dare you to resist.
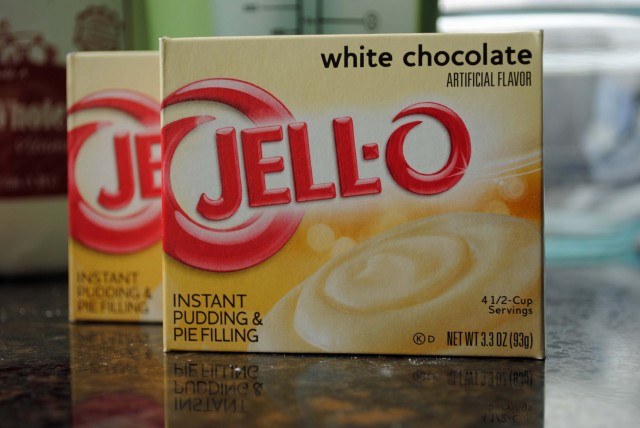 This is the brand and flavor of pudding I used. I have to confess that although this pudding stated that it was white chocolate, I failed to detect a white chocolate flavor. Perhaps that is because there was absolutely no type of cocoa product listed in the ingredients. So, if you can’t find white chocolate pudding at your grocery store, I am certain that vanilla pudding would work equally as well, if not better.
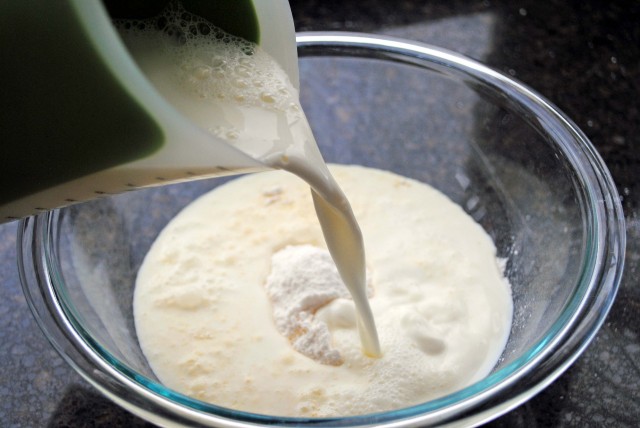 Put the pudding powder into a large mixing bowl. Add the three cups of milk and follow the instructions in the set of pictures below.
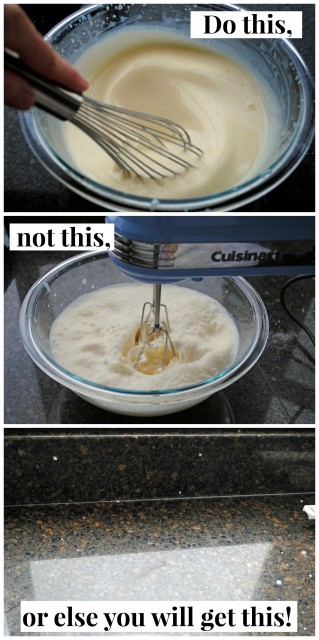 Read and learn. Use a whisk to mix the pudding and the milk. If you use an electric hand mixer, the chances of splattering liquid pudding all over you and your kitchen are quite high. So, use a whisk! The pudding will start to thicken after about two minutes of whisking. Stop whisking…or keep going for a few minutes longer; it’s entirely your choice.
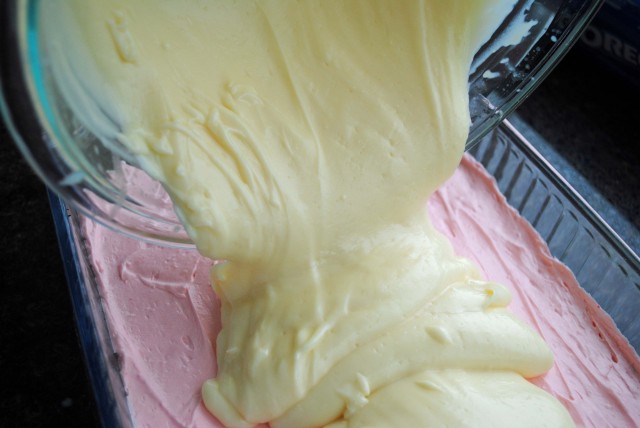 Pour the thickened-ish pudding on top of the candy cane layer.
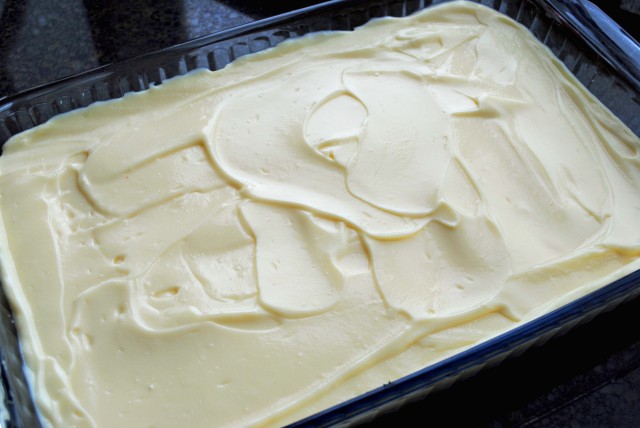 And spread it evenly all around. If you want it all pretty, you could use an offset spatula to make the pudding smoooooth. Clearly, I chose the rustic look. Perfection typically escapes me. There has to be balance in the universe. Secretly…I wish I had remembered that I have an offset spatula. Secretly? I would have used it to make this perfect. Is there no end to my shame? Cover the dish and return it to the refrigerator for 30 minutes in order to give the pudding a chance to thicken for a while..
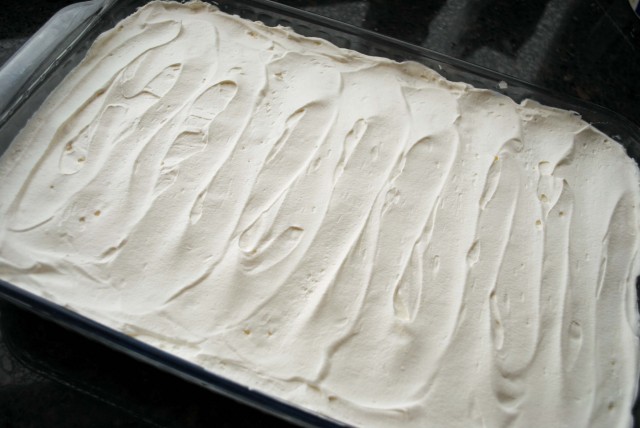 Spread the remaining whipped topping over the pudding. You have some choices to make about applying the whipped topping–again, I chose the charming, homespun, rustic look. Cover and return to the refrigerator for 4 hours. This dessert should be thoroughly chilled prior to serving and can be made a day ahead.
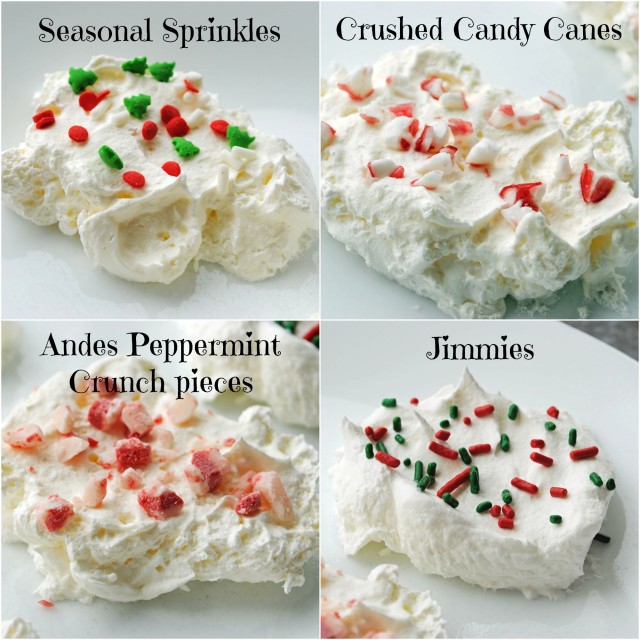 It took me a while to decide what kind of sprinkly stuff to put on top of the whipped topping. My top flavor pick was the Andes Peppermint Crunch pieces. They are addictively delicious and have little tiny bits of candy cane crunchies in them. However, the red color is muted or muddy and I wanted a bright red color. Jimmies are a perennial favorite and you can always count on them to bring the visual fun. Along with jimmies there are other seasonal sprinkle mixtures that will put a smile on your li’l face. In the end, I chose crushed candy cane pieces. They had the bright red color that I wanted, plus they reinforced the peppermint flavor.
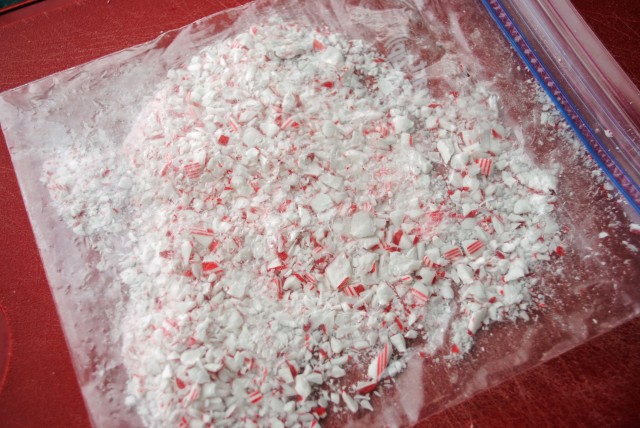 To make candy cane pieces, put candy canes into a plastic bag and break them up by hitting them with a rolling pin. They break quite easily.
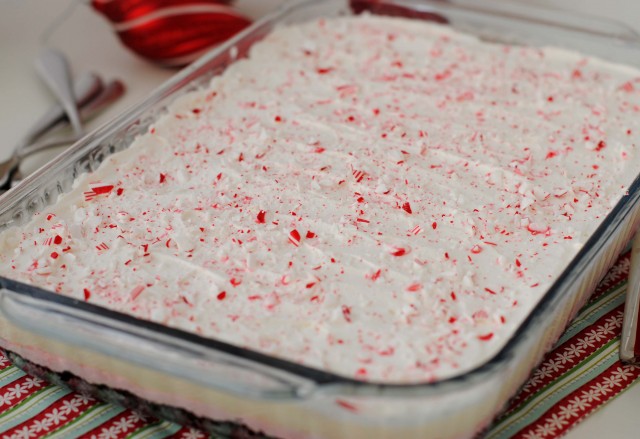 No matter what your choice of toppings may be, it is best to add them just before serving. Candy cane pieces will dissolve and the colors from various types of sprinkles will bleed into the moist whipped topping if added too soon.
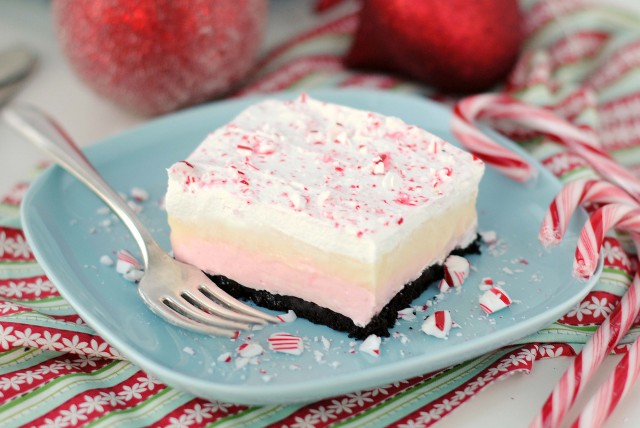
Creamy, dreamy, pepperminty wonderfulness.
Just for fun, here are the links to three great You Tube videos for The Princess Bride:

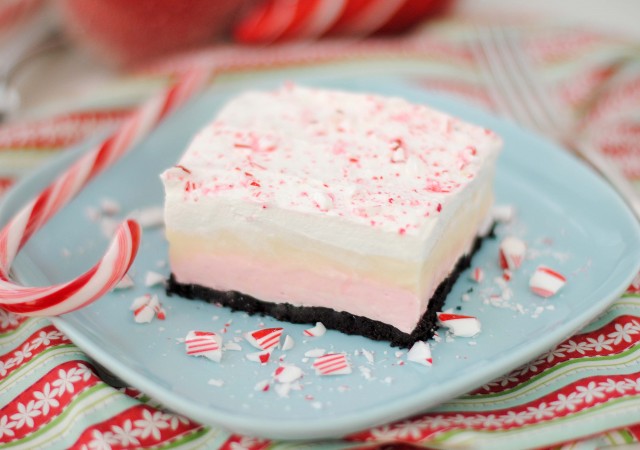



Oh my goodness! My mouth is watering almost drooling over these pictures!!!! I have never used white chocolate instant pudding, sound yummy!
Sarah…food will never taste better (or worse) than when you’re pregnant. Enjoy the good stuff, Babes! nom, nom, nom
This is my kind of no bake dessert… I love all the layers. 🙂 Have a wonderful holiday with your family. 🙂
Tina, seriously, it is mostly luck and the fact that I hold my breath with every cut. This dessert was a little difficult to cut because I didn’t let it cool long enough. I used a very sharp knife and made single stroke cuts…no up and down, sawing motions. Additionally, I cleaned and warmed the knife under running warm running water between cuts. Getting the dessert out of the pan was quite tricky, again because everything was so soft. Oh these particular pictures, I had to edit out a few little minor things such as two stray chocolate crumbs that ended up on top of the topping and a couple of small streaks of whipped topping that ended up on the dark crumb crust. Generally I don’t have to do any editing on things I cut, but again, I really don’t have a clear answer as to how things end up looking good, other than using a sharp knife, cleaning the knife between cuts, and using a smooth single slice motion.
Thanks for the praise. I truly feel unworthy! ~Terri
*Swoon* This looks amazing and I love the Andes Peppermint Crunch pieces to top the whole thing off, not to mention an Oreo cookie crust (it gets me every time)!
Thanks, Serena. I’m with you on the Andes Peppermint Crunch pieces. They are SO good! ~Terri
Teri, what a gorgeous, festive dessert! Perfect for the holidays. Wishing you a very Merry Christmas!!!
This looks amazing and I am going to make it. All my husband had to do was order the pie. He waited until today. They are out of the pie I wanted. Of course they are;(. My question is, what is an off-set spatula?
it is a spatula that is angled to help with spreading frosting, etc more easily…the bend helps accomodate awkward angles. Google “offset spatula” for a picture. Have a good day. try not to smack your hubby. 🙂